macOS is the operating system that powers all Apple’s laptop and desktop devices (including MacBook, iMac, Mac Mini, Mac Studio, and Mac Pro). Knowing how much space macOS takes up can help you to manage your storage better – especially if you’re using the lowest 256 GB SSD storage without iCloud+. There are two ways to look at macOS size: the official size of the macOS installer (what Apple says it takes to download and install), and the actual space it’s using on your Mac after installation. These aren’t the same, and here’s how to check both.
Why Should You Check macOS Size?
Many users overlook the technical specification of Mac models when making a purchase decision. Let’s check the sales page of MacBook Air on Apple.com website. The specifications show 256 GB or 512 GB SSD storage with a small tricky footer note.
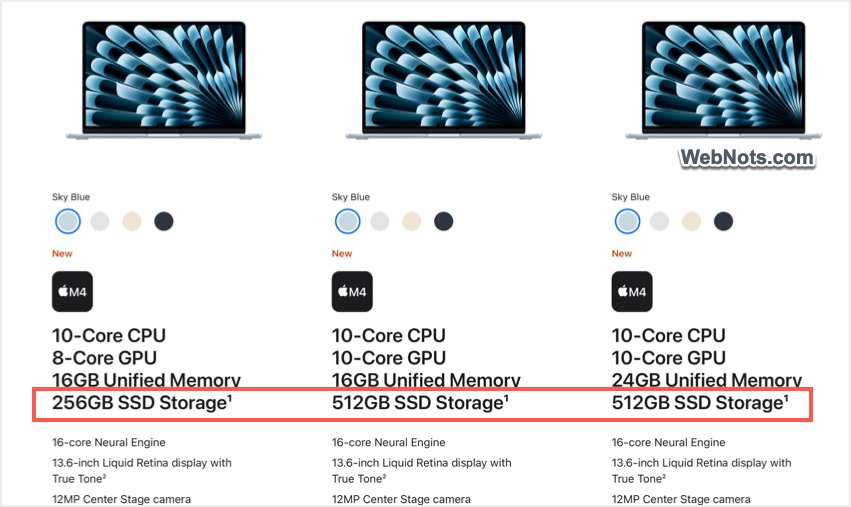
Go down to bottom of the page to check the footer note and it says, “1. 1 GB = 1 billion bytes and 1 TB = 1 trillion bytes; actual formatted capacity less”.

The actual capacity of SSD is less because of the following reasons:
- macOS will occupy considerable space.
- It’s not only the installed OS, but you’ll also need large free space to download macOS installer file for updating the OS.
- In addition, there’ll be a “System Data” which occupies huge space limiting the actual free capacity available for storing your files.
- Enabling features like Apple Intelligence needs additional storage.
The purpose of this article is to give an overall idea of how much storage will be occupied by these macOS system files and so that you can make an informed decision on your SSD storage requirements.
1. Check the macOS Installer File Size (Before Installing)
This is useful if you’re planning to upgrade or reinstall macOS and want to know how much space you’ll need.
- Go to Mac App Store, type macOS in the search box and press enter.
- Click on the “Download macOS versions” story or link.
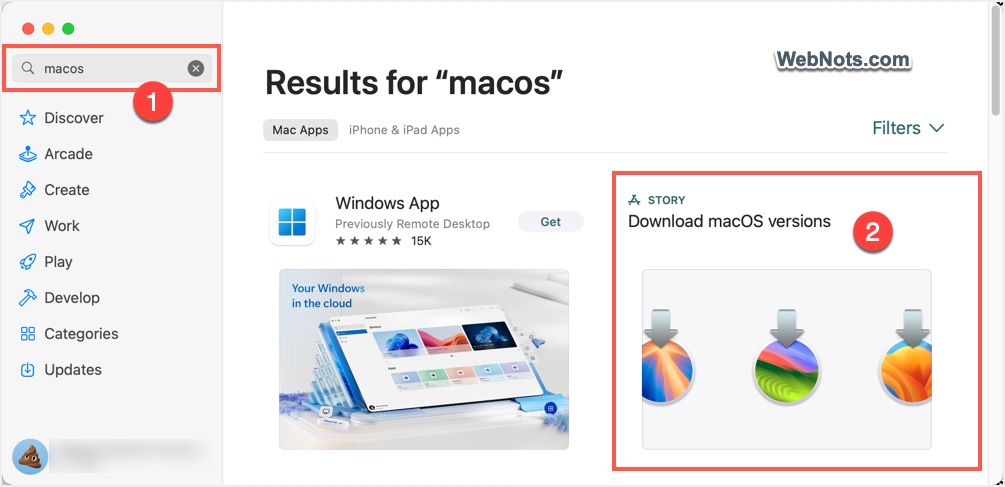
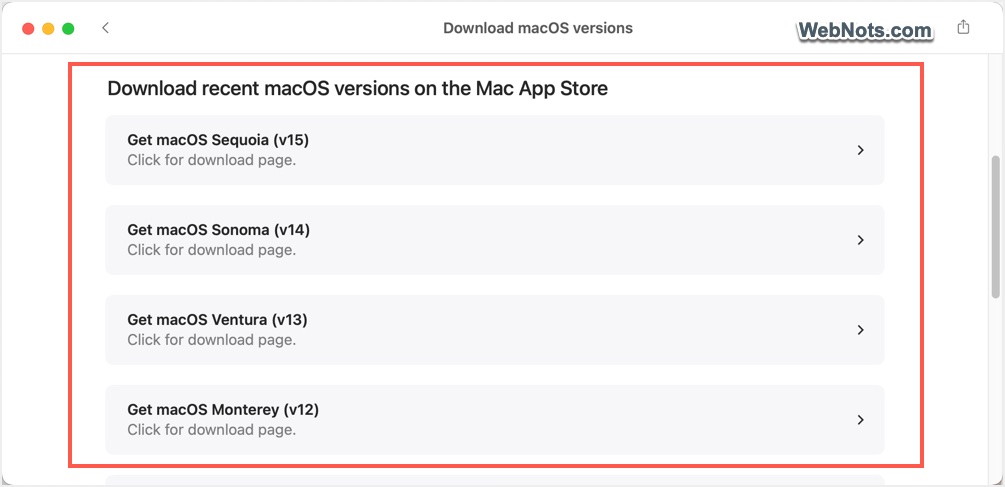
- Find and click on the version of macOS you’re interested in (like macOS Sequoia).
- This will open the app listing page of the macOS version and check under “Size”.
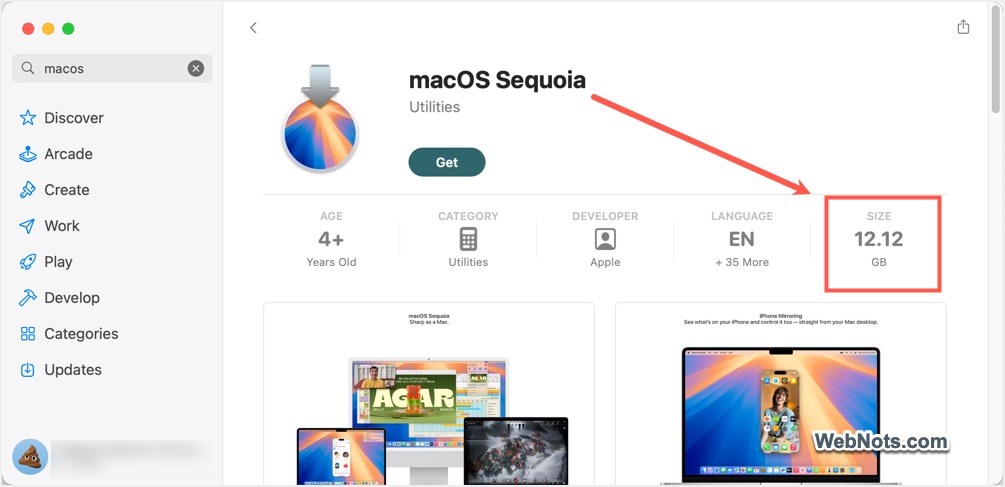
- Otherwise, scroll down to bottom and check the app information section to find the size.
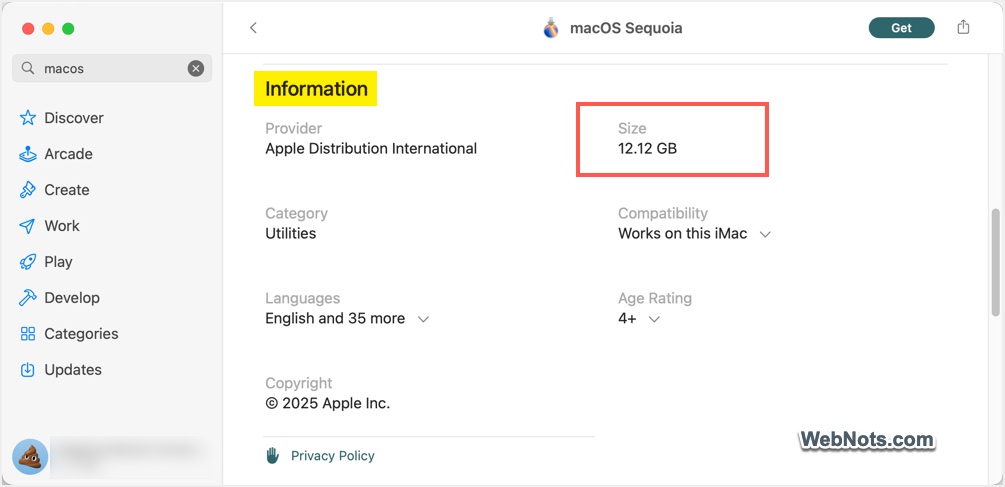
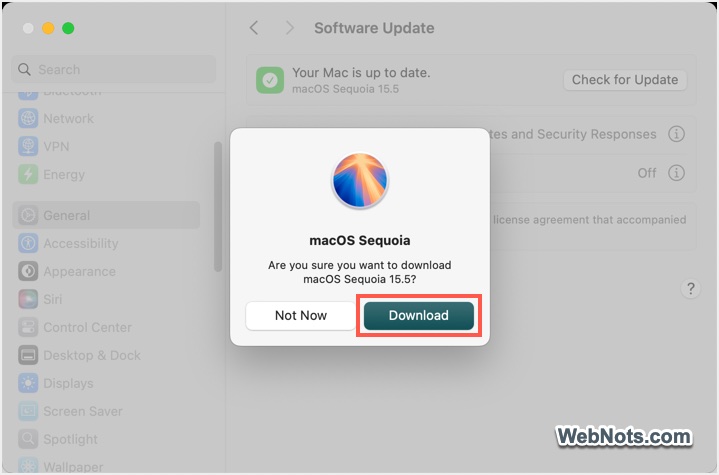
- Clicking on the “Get” button will take you to “Apple Menu > System Settings… > General > Software Update” section. You’ll be prompted to confirm for downloading the .app installation file.
This is an easy way to find the list of old macOS versions and check their sizes. However, you can also simply search for the exact version name (like macOS Sonoma) to find its size for the app listing page. Here are the collected details from macOS version High Sierra to show the size requirement:
| macOS Version | File Size |
|---|---|
| Sequoia (V 15) | 12.12 GB |
| Sonoma (V 14) | 12.12 GB |
| Ventura (V 13) | 12.12 GB |
| Monterey (V 12) | 12.13 GB |
| Big Sur (V 11) | 12.58 GB |
| Catalina (V 10.15) | 4.9 GB |
| Mojave (V 10.14) | 14.7 MB |
| High Sierra (V 10.13) | 4.8 GB |
We don’t know why Mojave version is only 14.7 MB, otherwise, you can see the OS file size is tripled from Catalina to Big Sur.
1.1. Understanding macOS Installation Size Requirement
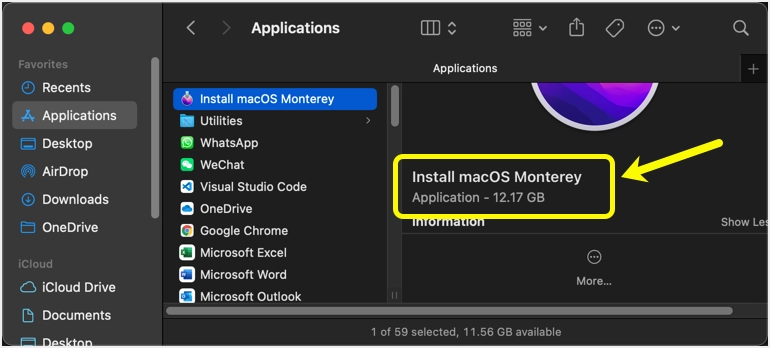
If you download the macOS file, it’ll go to “Applications” folder where you can find its size after the download. As you can see in the below image, downloaded macOS Monterey application file (12.17 GB) is larger than the original size seen on the app information page (12.13 GB).
In addition, the downloaded file needs to be extracted for installation which needs additional space. As you can see in the below image, it needs 14.23 GB additional storage for installation.
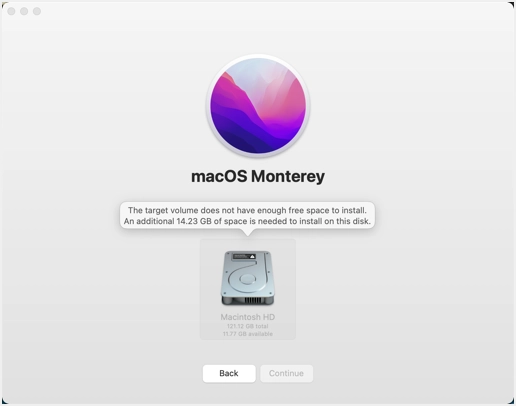
So, you’ll always to need to keep around 25 GB free storage simply to download and install macOS on your system. Otherwise, you’ll see an insufficient disk space error and the options for you are to cleanup the storage, upgrade the storage or replace the Mac.
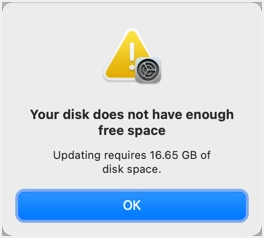
Note: You can also download the older versions from Apple support website to find the size if needed.
2. Check the Installed macOS Size (After Installation)
This tells you how much space the operating system is currently using on your drive – not just the install file, but the full system setup.
- Click the Apple menu in the top-left corner and go to “System Settings…”.
- Navigate to “General > Storage” section.
- Hover on the graphical chart to find the size of installed macOS.
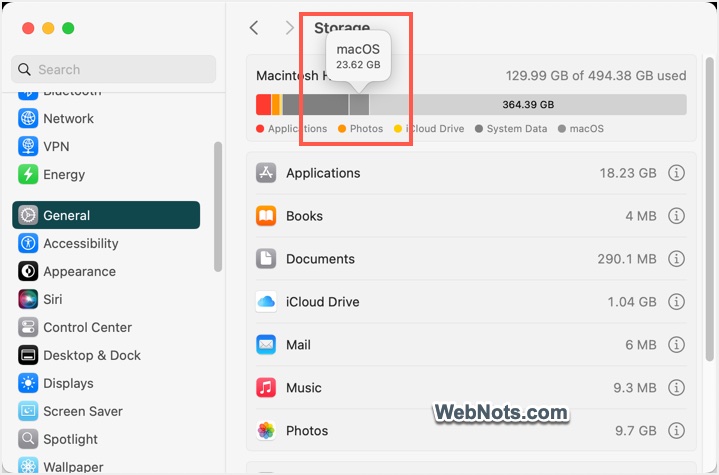
- Otherwise, scroll down to bottom and check the macOS storage size.
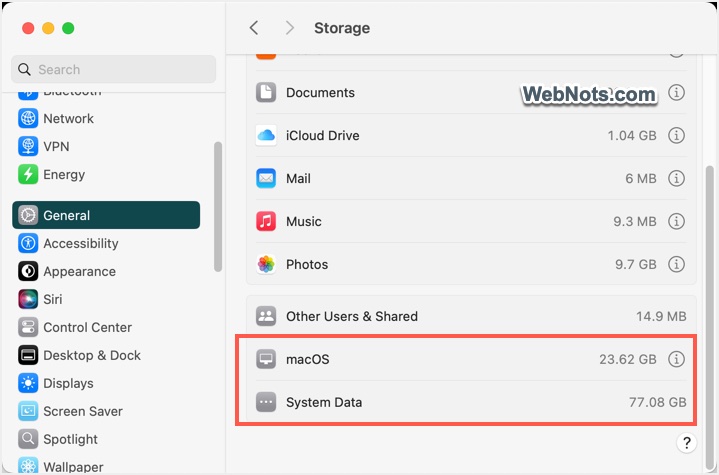
Depending on your Mac and version of macOS, the system can use anywhere from 15 GB to over 30 GB. It uses 23.62 GB on our case and there are no options to optimize and reduce this occupied space.
3. System Data
This is another big headache for all macOS users that the “System Data” (Other category on old macOS) occupies considerable storage space. As you can see, it shows 77.08 GB in our case with no explanation or option to optimize. Based on our usage, we understand this category includes system caches, virtual memory, and other critical files. macOS doesn’t install just the OS – it rolls a lot into “System Data” that isn’t removable.
Check out the articles on how to reduce this System Data or Other category storage space on macOS.
Final Calculation
Let’s do the approximate math:
- macOS installation → 25 GB.
- Installed macOS → 25 GB.
- System Data or Others → 100 GB.
So, you simply need 150 GB SSD storage for keeping unplanned (as you might not have known when bought the new Mac) data on your system. If you’ve 256 GB, you’re left with remaining 116 GB which can easily be consumed with videos, audios, and other documents. Be aware of this before purchasing and go for 512 GB (or more on iMac) if you’ve needs for larger storage and if you’re not planning to pay for iCloud+ subscription.