If you are writing code in Visual Studio Code (VS Code) and testing in Chrome or another browser, it’s high time to start using extensions. Though the editor itself has strong built‑in capabilities, extensions can dramatically boost your productivity, improve code quality, and tailor the editor to your specific workflow. Below is how to install extensions in VS Code, followed by the top 10 most useful ones you should try.
Installing Extensions in VS Code
VS Code is managed by Microsoft and updated frequently. You can install extensions either from within the app or from the extension marketplace (website). The website is especially useful if you use other Microsoft services like Visual Studio and Azure DevOps, because you can also find extensions for those platforms in the same marketplace.
Here are the three main methods for installing extensions in VS Code:
Method 1: Using the Extensions View
- Open VS Code app.
- Click the “Extensions” icon in the “Activity Bar” on the left or press Control + Shift + X keys on Windows/Linux or Command + Shift + X shortcut keys on Mac.
- Search for the extension by name and select it.
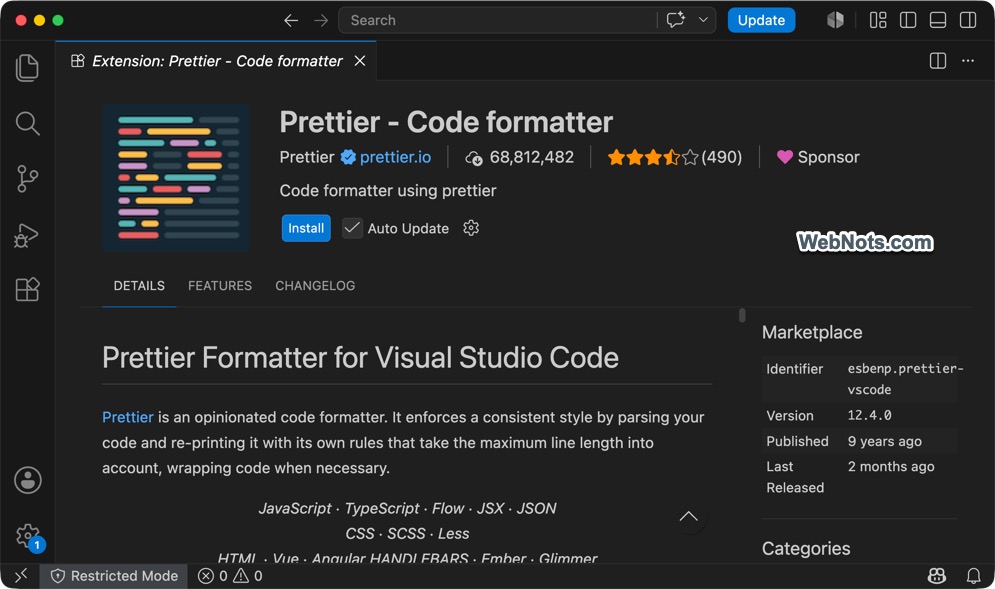
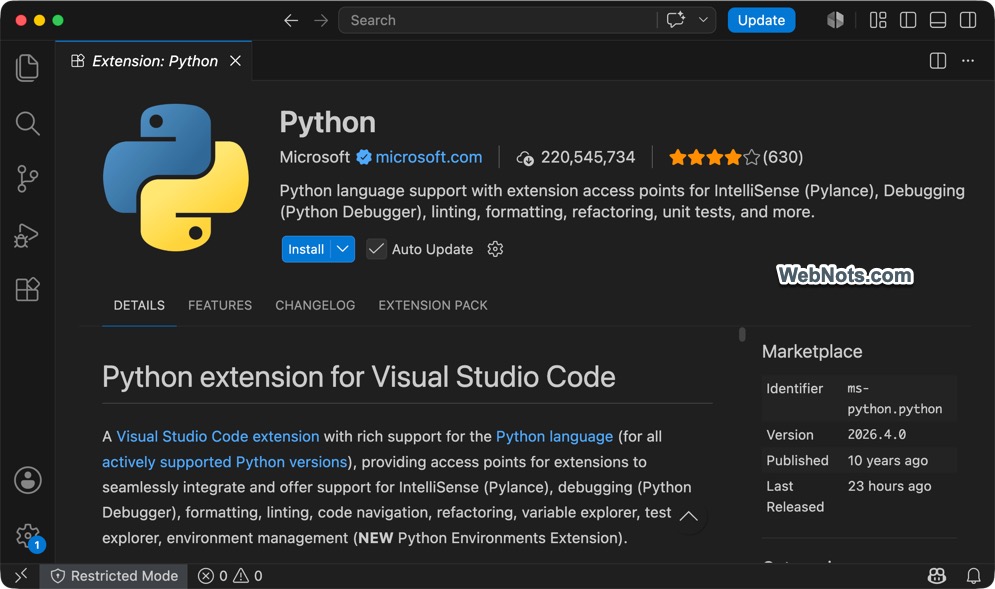
- View the complete details like publishing date, last release, features, reviews, and changelog.
- Check the “Auto Update” option and click “Install”. Alternatively, click the small arrow on the “Install” button and select “Install Release Version”.
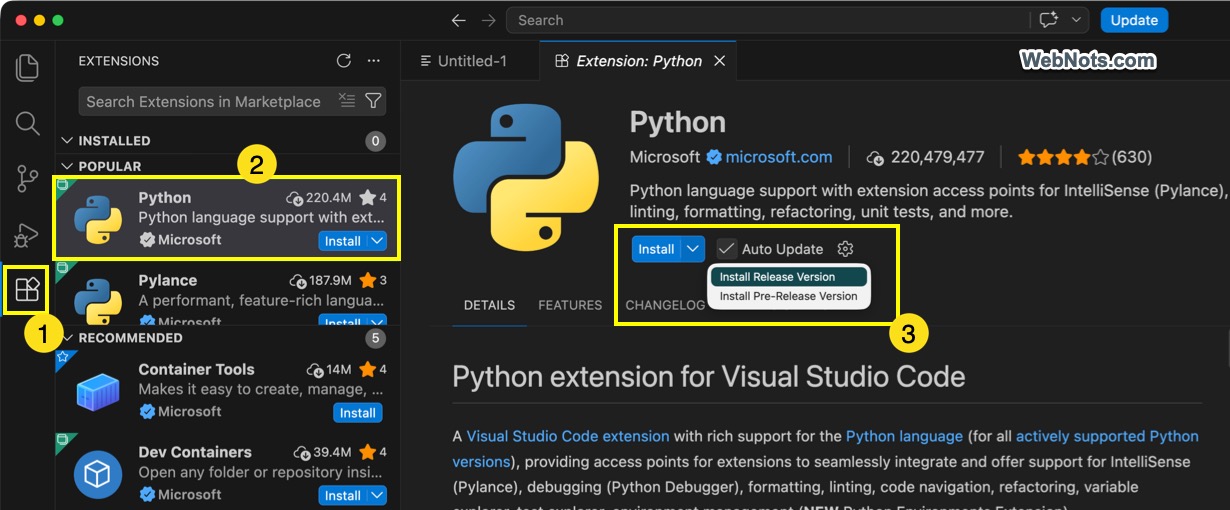
Note: Unless you want to test, avoid installing pre‑release versions and using them on your projects.
Method 2: Command Palette
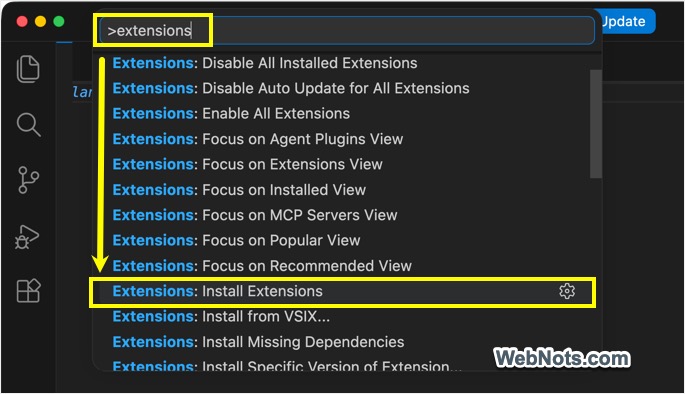
- Open the Command Palette by pressing Control + Shift + P keys on Windows/Linux or Command + Shift + P keys on Mac.
- Type “extensions” and select “Extensions: Install Extensions” item from the list.
- Search and install an item as described above.
Method 3: Marketplace Website
- Go to the VS Code Marketplace website.
- Find the extension and click “Install”.
- It will prompt you to open the extension in VS Code editor.
- Click “Allow” and then install the extension.

Top 10 Useful Extensions
Now, let’s dive into the top 10 extensions that can transform your coding experience.
1. Prettier – Code Formatter
Prettier enforces a consistent code style by automatically formatting your files on save or on command. It works on JavaScript, TypeScript, CSS, JSON, JSX, etc. – just write and let Prettier handle the rest.
2. ESLint
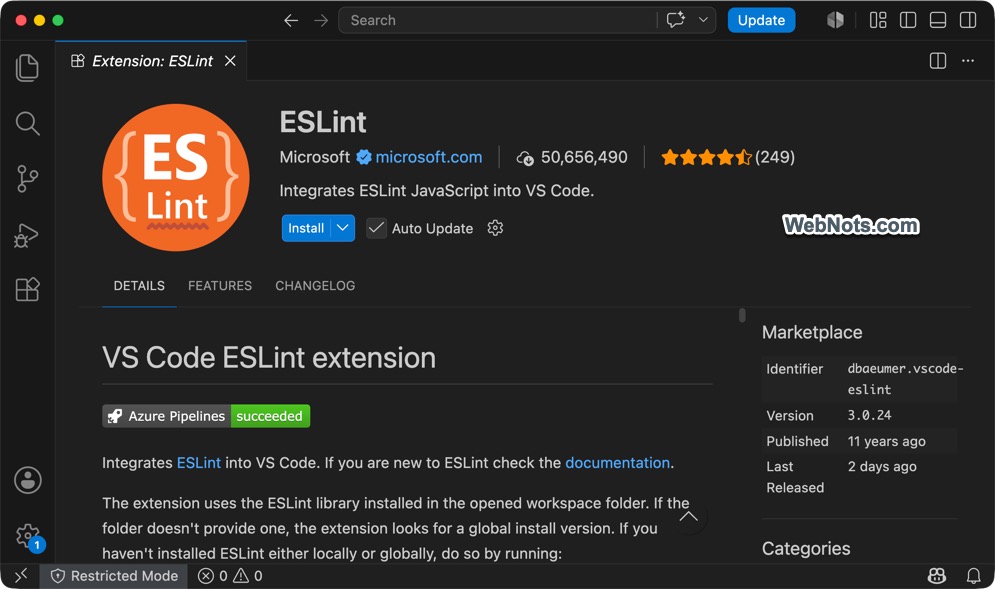
This is an official extension from Microsoft for integrating the popular JavaScript linter directly into VS Code. It highlights syntax errors, enforces coding rules, and can auto‑fix many issues. Essential for catching bugs early and maintaining clean, consistent JavaScript/TypeScript code.
3. Live Server
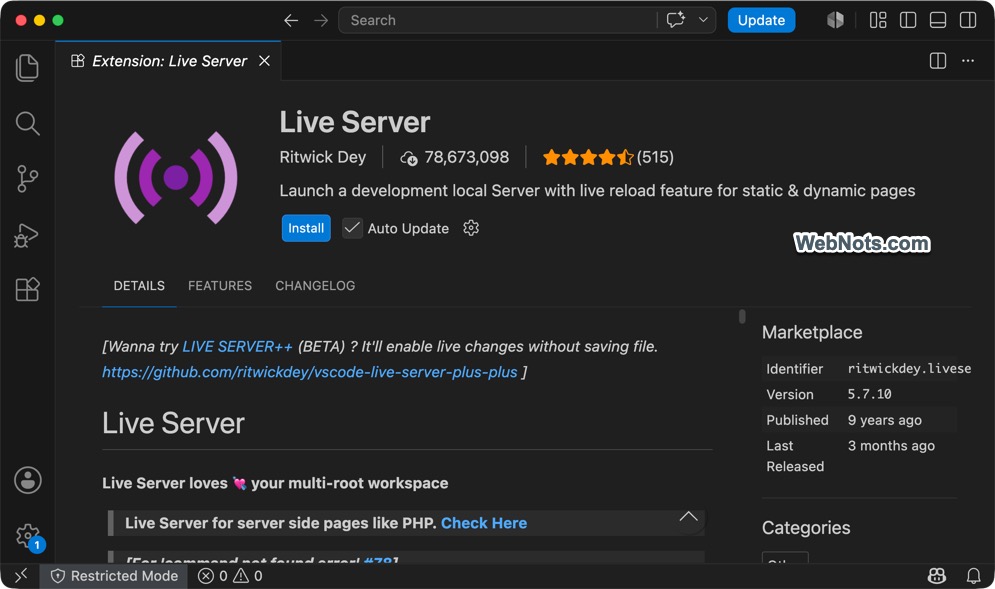
Launch a local development server with live reload for static HTML/CSS/JS pages. Simply open your HTML file in the editor and click the “Go Live” button on the top bar, or right‑click and choose “Open with Live Server” option. Every change you save instantly refreshes the browser – perfect for front‑end prototyping and testing.
4. GitLens – Git Supercharged
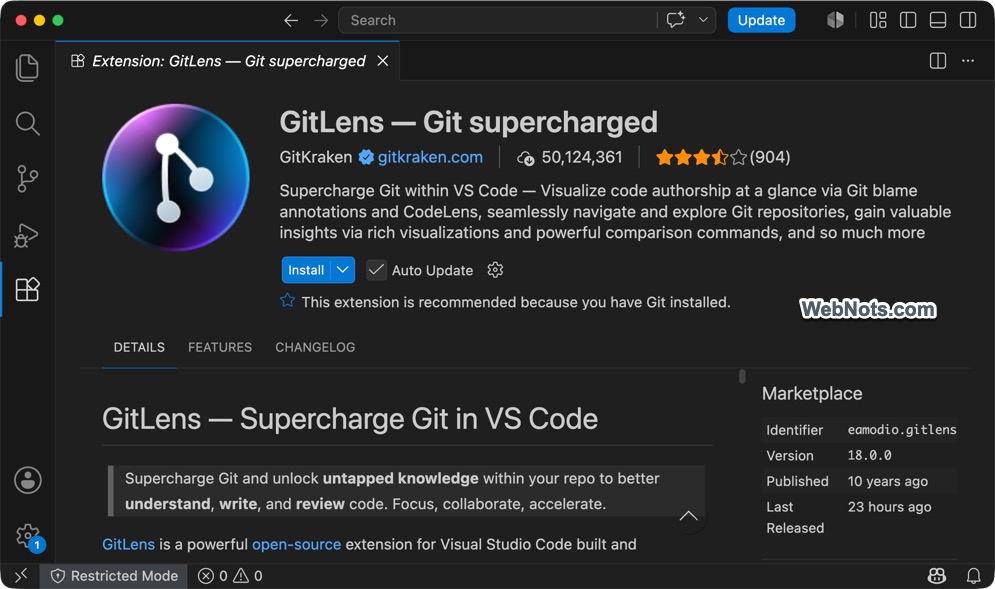
GitLens supercharges the built‑in Git capabilities. It shows inline blame annotations (who changed which line and when), explores commit histories, visualizes code authors, and provides powerful repository exploration tools. This is an indispensable tool for team projects.
5. Thunder Client
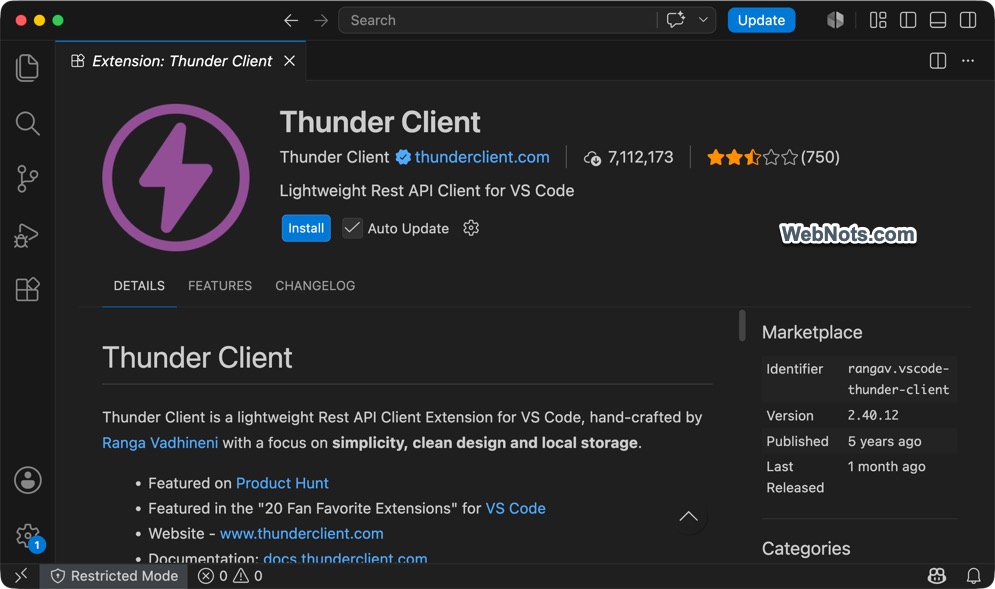
A lightweight REST API testing tool built directly into VS Code. You can create, save, and send HTTP requests, view responses, and organize collections, all without leaving your editor. Great for backend and full‑stack developers.
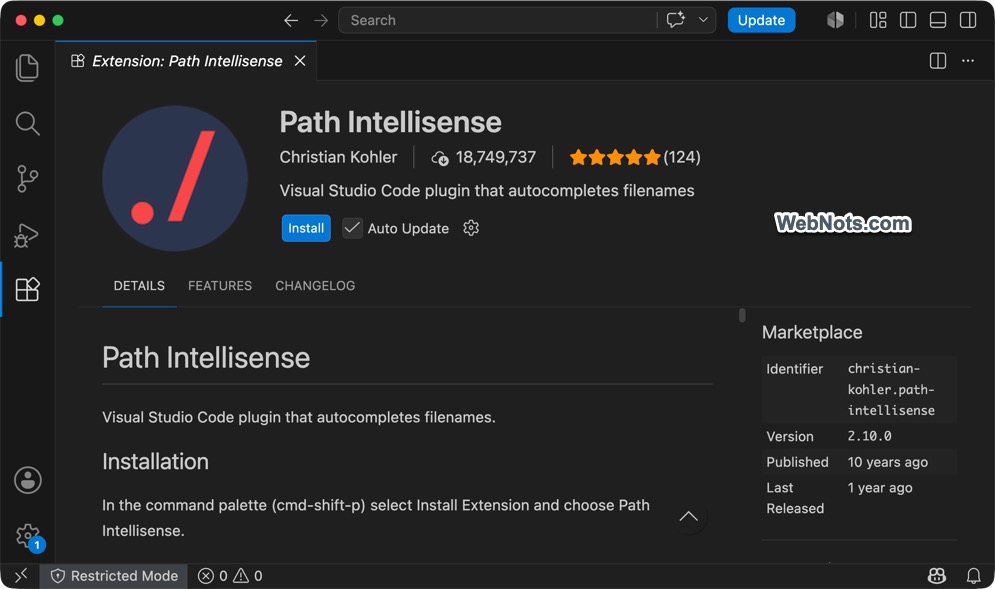
6. Path Intellisense
This extension automatically autocompletes filenames and folder paths as you type them in imports, require() statements, HTML src attributes, etc. It saves time and eliminates typos when referencing local files or modules.
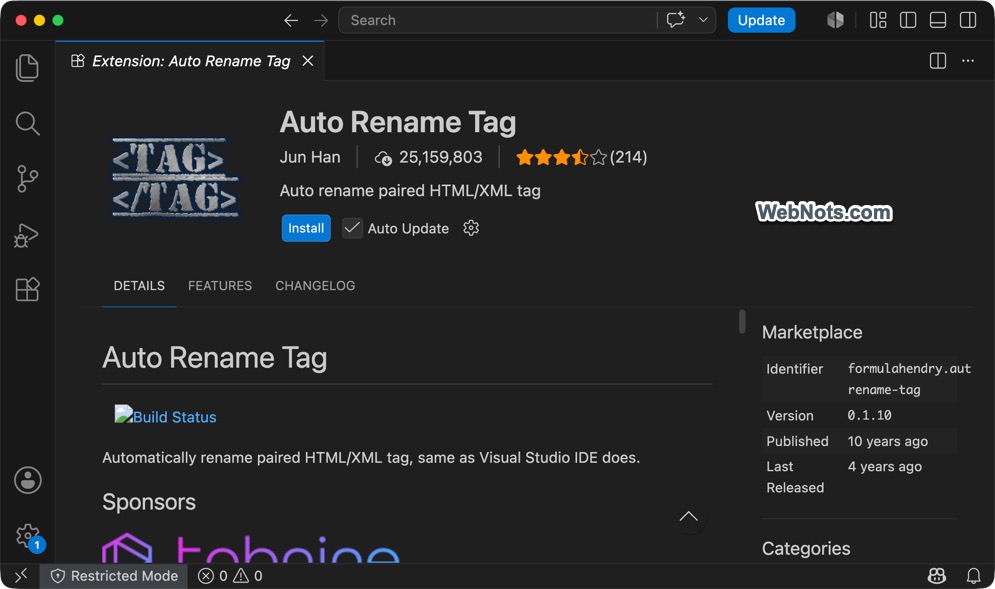
7. Auto Rename Tag
When working with HTML/JSX, renaming an opening tag automatically renames its matching closing tag (and vice versa). Simple, but a huge time‑saver that prevents mismatched tags.
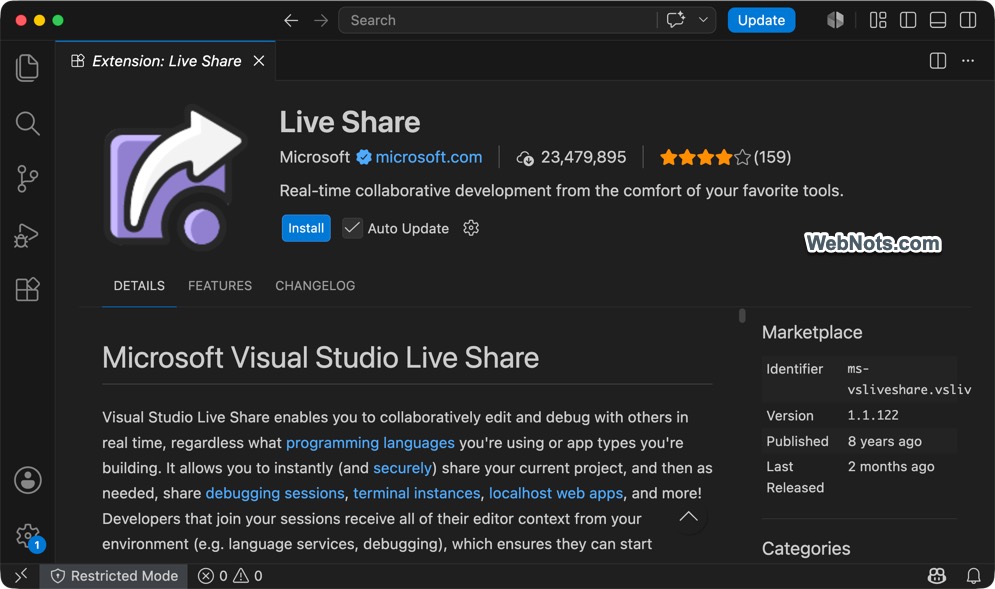
8. Live Share
Live Share allows you to share your VS Code session with teammates instantly allowing real‑time collaborative editing and debugging. Team members can view, edit, and debug code with you, even using different operating systems. There’s no need to clone a repository or set up dependencies; everyone gets the same environment. It includes shared terminals, localhost servers, and voice calls, making pair programming or remote mentoring seamless.
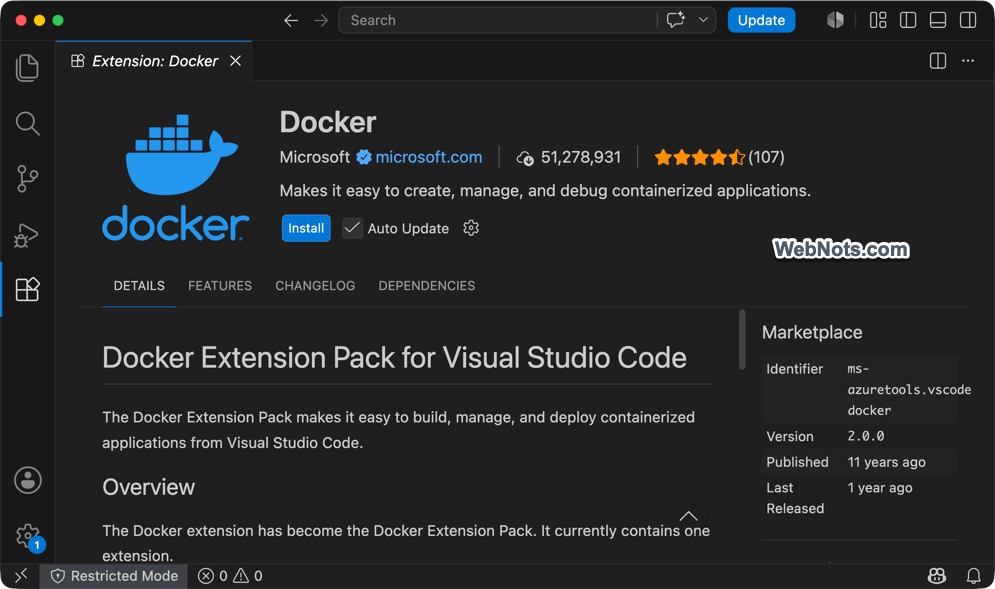
9. Docker
The official Docker extension (from Microsoft) lets you manage containers, images, volumes, and networks directly from VS Code. It adds syntax highlighting for Dockerfiles, IntelliSense for commands, and one‑click container integration (for example – attach a debugger to a running container). A must‑have for anyone working with containerized applications.
10. Python (by Microsoft)
If you write Python, this is non‑negotiable. It brings IntelliSense, linting (pylint/flake8), debugging, unit testing, Jupyter notebook support, and virtual environment management. Works seamlessly with language servers like Pylance for blazing‑fast completions and type checking.
Things to Check Before Installing Extensions
Before you click Install, take a moment to review these points to ensure safety, performance, and reliability:
- Check the publishing date, last release date, and changelog, as frequent updates generally indicate active maintenance and timely security fixes.
- Ensure the extension is not deprecated by looking for a “Deprecated” badge or notice on the marketplace page.
- Install extensions only from the official marketplace, either within the app or from the official website, since third-party sources may contain malware.
- Review user ratings and feedback carefully, as high ratings, recent positive comments, and a large number of installs are usually good indicators of reliability.
- Verify the publisher because official extensions often come from trusted sources like Microsoft, Red Hat, Google, or reputable open-source organizations.
- Understand the permissions requested, as some extensions require access to your files, network, or authentication tokens, so it is important to trust the publisher before installing.
- Enable auto-update for extensions to help prevent vulnerabilities, fix issues, and receive the latest features automatically.
Final Thoughts
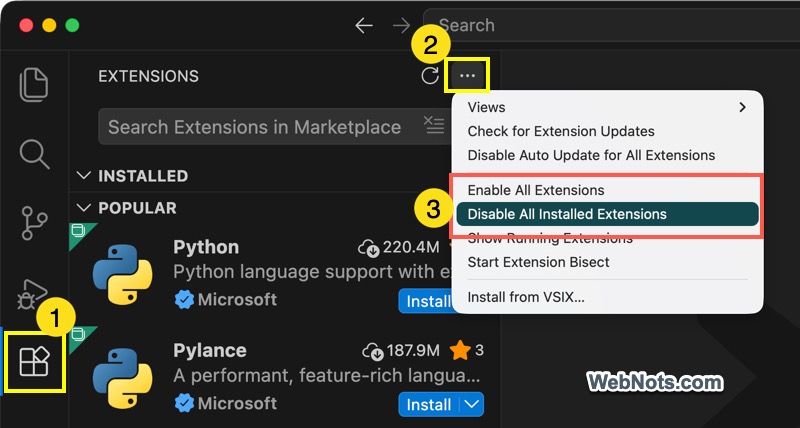
The ten extensions listed above provide a strong foundation for most developers, whether you work in front-end, back-end, DevOps, or data science. Start with a few extensions that address your immediate needs, then gradually add others as required. Keep in mind that installing too many extensions can slow down VS Code, so it is best to keep only those you actively use. If you no longer need an extension, disable or uninstall it instead of leaving it enabled unnecessarily. VS Code also provides the option to enable or disable all installed extensions at once.