Jetpack is one of the popular WordPress plugins that offer different modules for optimization, speed, security, and AI Assistant. For using the plugin on your WordPress.org site, you need to connect the plugin with your WordPress.com account. However, sometimes you may face a connection error when trying to setup the plugin. If you are stuck up with the connection error in Jetpack, here is how to fix.
Jetpack Connection Error
After activating the plugin, you will be prompted to connect to WordPress.com account to start using the modules.
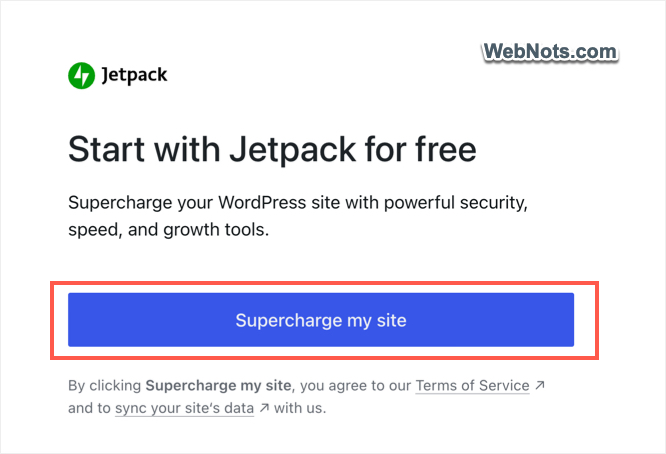
Otherwise, you can go to “Jetpack > Settings” section and connect your WordPress.com account. When you click on the “Supercharge my site” or “Connect” or any other connection link, you will see a message showing “An error occurred. Please try again” without any other information. It is impossible to guess the root cause as there will be no other clue or reason shown with the error.
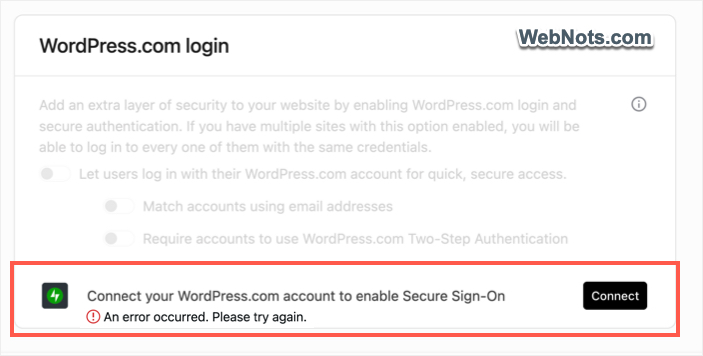
Follow the below steps to fix this connection error.
1. Enable XML-RPC
WordPress uses XML-RPC protocol to allow third-party applications like Jetpack to connect and post content on your site. In most cases, you might have disabled XML-RPC service with a security plugin. When you see the error occurs in Jetpack connection, XML-RPC is the first thing you should check. You may need to check your security plugin’s settings and make sure XML-RPC is NOT disabled.
For example, all WordPress installations on SiteGround hosting come with a preinstalled Security Optimizer plugin. This plugin allows you to disable XML-RPC. If you are using SiteGround, go to “Security Optimizer > Site Security” section in your WordPress admin panel and disable “Disable XML-RPC” option.
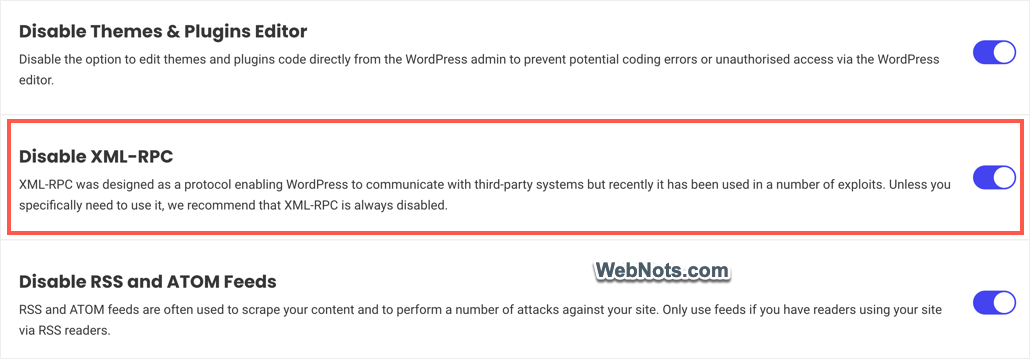
Even optimization plugins like Perfmatters also offer an option to disable XML-RPC. If you are using Perfmatters, go to “General” section and turn off “Disable XML-RPC” option.
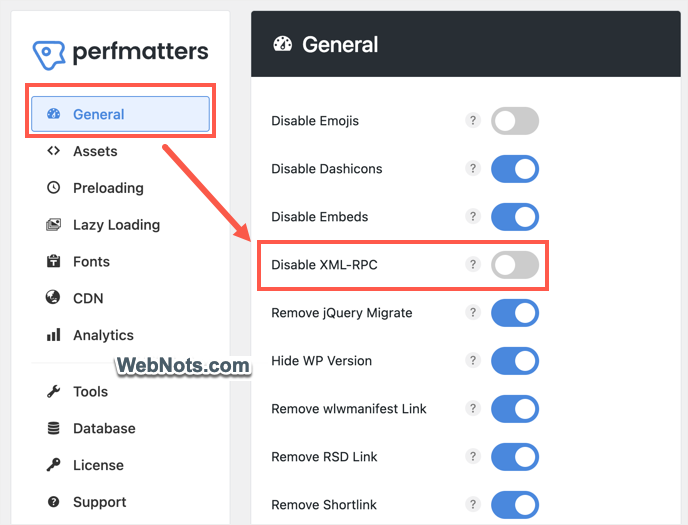
So, check all your plugins and make sure you have not disabled XML-RPC and try to reconnect WordPress.com account. You should see the connection works without any error.
2. Disable Other Plugins
Sometimes, other plugins may conflict with Jetpack connection and cause error. If you have too many plugins installed, it is difficult to find the root cause. The simple solution here is to deactivate all other plugins (except Jetpack) and check whether the connection is working.
- Go to “Plugins > Installed Plugins” section in your WordPress admin panel.
- Click the “Bulk actions” dropdown and select “Deactivate” option.
- Check all the plugins except Jetpack from the list.
- Click “Apply” button to deactivate all the plugins.
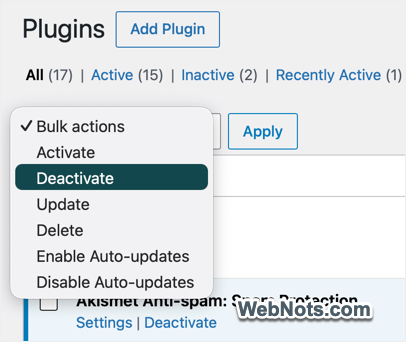
If it is working, you can enable the plugins one by one to confirm which plugin is causing the conflict.
3. Clear Your Cache
Caching is another common problem that prevents connecting your site with third-party applications. If you are using WP Rocket or any other caching plugins, make sure to purge the cache or deactivate the plugin when you face Jetpack connection problem. Note that you may also need to purge your CDN and server-side cache.

4. Disable Bot Blocking in Cloudflare
If you are using Cloudflare CDN, you will have lot of problems with “Block fight mode” option. Many times, this option will block legitimate connections like Jetpack, Googlebot, Bingbot, etc.
- Login to your Cloudflare account and select your site.
- Navigate to “Security > Settings” section.
- Find “Block fight mode” option and turn it off. If you are using premium Cloudflare version, disable “Super Bot Fight Mode” option also.
- Go to “Caching > Configuration” section and purge your site’s cache.
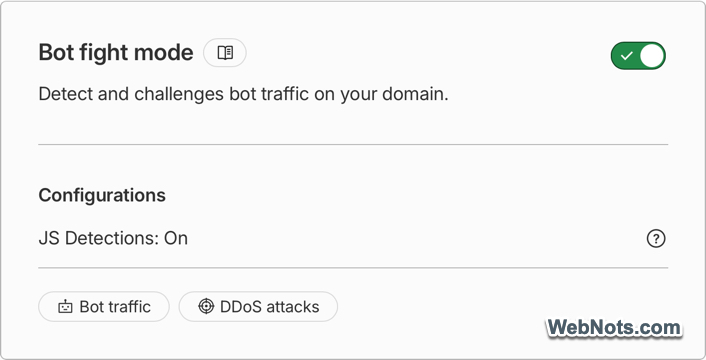
After that check whether you can connect to WordPress.com account in Jetpack settings.
5. Whitelist Jetpack IPs
The last option is to whitelist Jetpack IP addresses, so that they are not blocked by your hosting company or CDN service like Cloudflare. You can also create an exception rule in your security setup and allow Jetpack IP addresses to access XML-RPC file on your site. In this way, you can still disable XML-RPC access for all but only allow Jetpack to use the XML-RPC API. Here is a list of Jetpack IP addresses you can whitelist:
122.248.245.244/32
54.217.201.243/32
54.232.116.4/32
192.0.80.0/20
192.0.96.0/20
192.0.112.0/20
195.234.108.0/22
192.0.64.0/18
Since IP ranges are subject to change, check their official site to get the latest Jetpack IP addresses.