Though WordPress has plugins for everything, you will still end up in editing functions.php file for adding code snippets. Even you have plugins for adding code snippets to avoid editing theme files. Alternatively, many users create child theme to add additional functions. However, for adding simple function you can create a simple functional plugin on your own and install/active it on sites.
Why to Create a Functional Plugin?
Here are some of the reasons to create a functional plugin:
- Avoid implementing heavy plugins for a simple feature.
- Do not need to create and maintain child theme.
- Do not need additional free or premium plugins like Code Snippet, WP Code, etc.
- Avoid editing theme’s functions.php file and you can update the theme without any problem.
Example of a Functional Plugin
Let us take an example that you want to avoid publishing posts with less than 500 words. For this you can add the following code snippet in your theme’s functions.php file by navigating to “Appearance > Theme File Editor > Your Theme > Theme Functions (functions.php)”.
function minWord($content){
global $post;
$num = 500;
$content = $post->post_content;
if (str_word_count($content) < $num) wp_die( __('Error: Post below specified length of 500 words...') ); }
add_action('publish_post', 'minWord');
Creating Functional Plugin’s PHP File
Let us create a functional plugin for this code snippet. Copy and paste the following code in a plain text file (you can use a Notepad or TextEdit). Lines between /*……..*/ in the code are not simply comments. Though those lines do not contribute to actual functions, WordPress will pick up the details from these comments and show as plugin details.
<?php
/**
 * Plugin Name: Limit Post Length
 * Plugin URI: https://www.webnots.com
 * Description: Plugin to avoid publishing post with content less than 500 words.
 * Author: WebNots
 * Author URI: https://www.webnots.com
 * Version: 1.0
 * Requires at least: 6.4
 * Requires PHP: 8.0
 * License: GPLv2+
 * License URI: https://www.gnu.org/licenses/gpl-2.0.txt
 * Text Domain: WebNots
 */

function minWord($content){
global $post;
$num = 500;
$content = $post->post_content;
if (str_word_count($content) < $num) wp_die( __('Error: Post below specified length of 500 words...') ); }
add_action('publish_post', 'minWord');
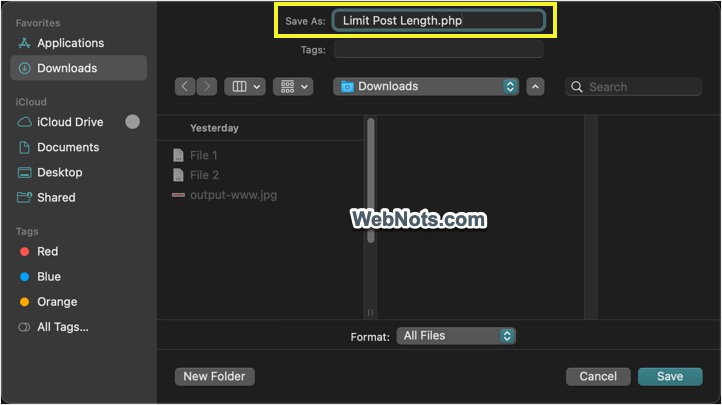
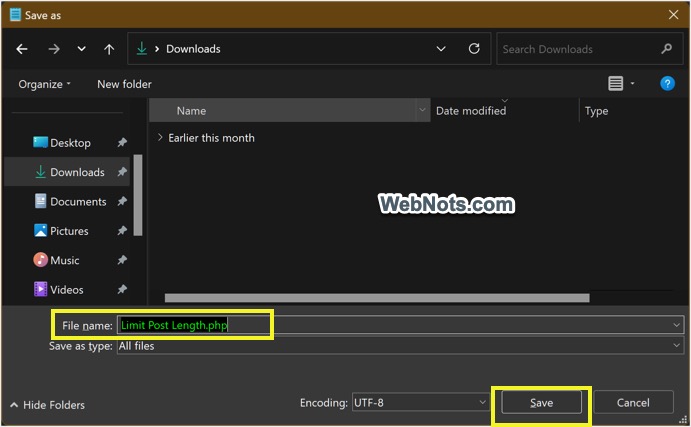
Save the plugin as a .php file with the name as “Limit Post Length.php”. Below is how it will look in TextEdit on Mac and Notepad in Windows.
Create Plugin ZIP File
Next step is to create ZIP file by compressing your PHP file. Right-click on your “Limit Post Length.php” file and select “Compress to ZIP file” option in Windows 11 PC.
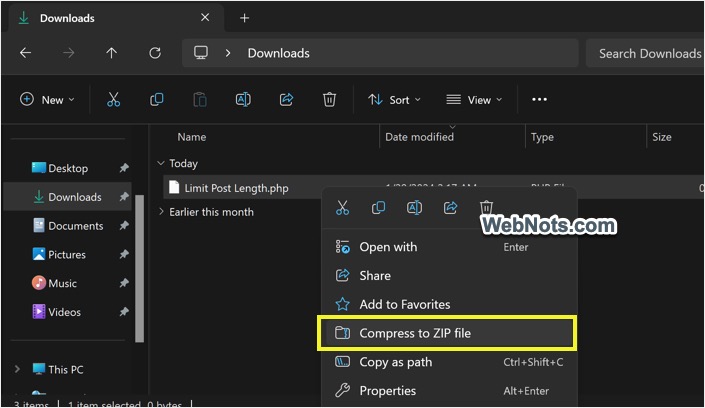
On Mac, right-click on the file and select “Compress “Limit Post Length.php”” option to create a ZIP archive file.

Uploading Your Plugin in WordPress Site
Your plugin’s ZIP file is ready and the next step is to upload it in your site.
- Login to your WordPress admin panel and go to “Plugins > Add New Plugin” menu.
- Click “Upload Plugin” button and click “Choose File” button.
- Browse and select your “Limit Post Length.zip” file and click on “Install Now” button.

- After installing the plugin, click on “Activate Plugin” button.

- It will take you to “Plugins > Installed Plugins” section where you can see the Limit Post Length plugin.

Testing Plugin’s Function
Since the plugin’s function is to restrict publishing post with less than 500 words, let us create a post and test the plugin is working or not.
- Go to “Posts > Add New Post” section and create a post with less than 500 words.
- Click the “Document Overview” and go to “Outline” section to find the number of words in Gutenberg editor. On Classic Editor, you can find the number of words on the bottom status bar.
- Click on the “Publish” button and WordPress will throw an error saying, “Publishing failed. Error: Post below specified length 500 words…”.

The error message is the one showing from your plugin’s php file. Note that the plugin will still allow you to publish the post after showing an error message.
Final Words
As you can see, it is super easy to create a functional plugin in WordPress by simply creating a ZIP file from a PHP file. You can anytime delete the functional plugin without affecting your theme. In this way, you can avoid editing theme’s file and install/maintain unnecessary heavy plugins.