Have you ever wondered how to increase or decrease the text or font size on your MacBook or iMac? Perhaps the text on desktop icon labels is too small or you have difficulties in reading Finder text. Whether you need larger text for better visibility or smaller text to maximize screen space, macOS offers various ways to adjust font sizes. In this article, we will explain all available options for the apps and OS level.
Default macOS Font Size
Apple uses various fonts in macOS which you can view and manage from Font Book app.
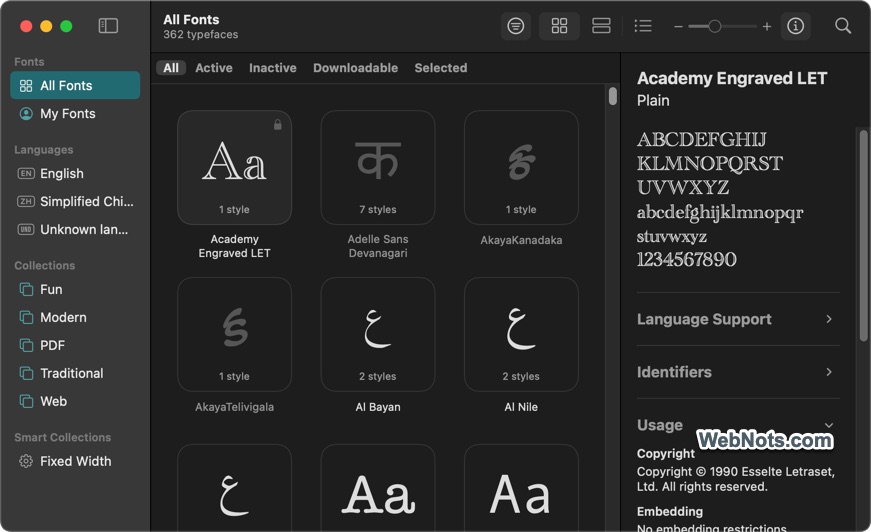
Though macOS fonts are appealing, the problem is with their default size of 13 pixels used on apps and desktop. This makes it difficult for reading, especially when you have larger screen size like iMac. So, in most cases you would like to increase the font size which can greatly improve readability and enhance your overall user experience.
1. Adjusting Preferred Text Size in Accessibility Settings
This method helps to set a system-wide preferred reading text size which will affect the default system apps like Mail, Messages, Finder, Books, Calendar, News, Weather, Stocks and Notes. You have three options to set the text size for these apps – preferred size, default size (13 px) or custom size. In addition, you do have an option to increase the font size on top Menu Bar.
- Click the Apple Menu and select “System Settings…”.
- Go to “Accessibility” section and select “Display” option under “Vision” heading.
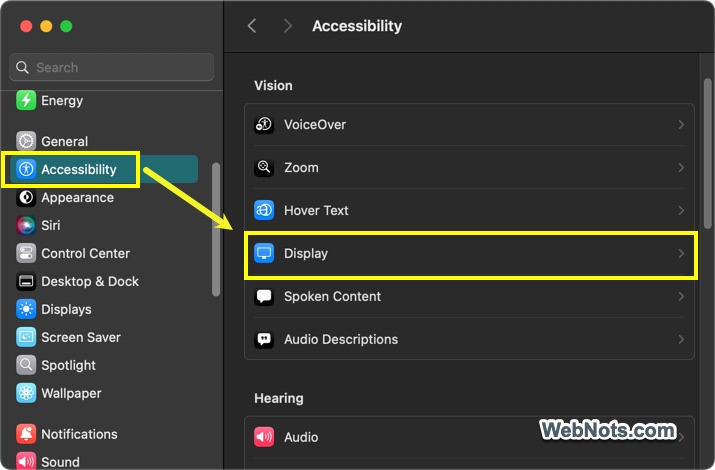
- Scroll down on the right pane to find “Text” section.
- First, adjust the top Menu Bar text size to “Default” or “Large” which will be effective immediately.
- After that, click on the “Text size” option.

- Move the slider on top to adjust the preferred text size for apps. If you want to use the preferred text size for all the listed apps, click the dropdown against each app and select “Use Preferred Reading Size”.

- If you want to use custom text size, select “Default” or one of the sizes from the dropdown against each app.
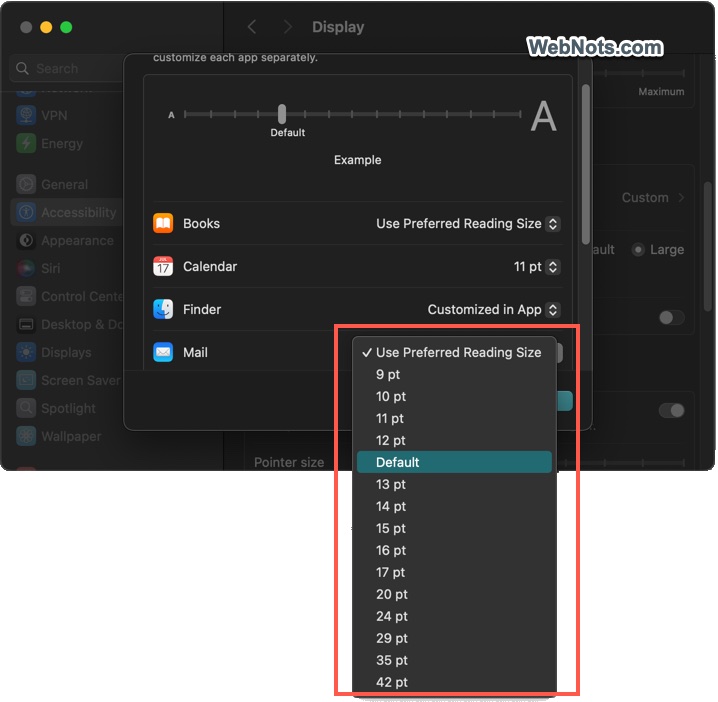
Though this option is meant for system-wide, it does not include apps like Safari or Terminal. In addition, you can also directly change the text size in individual app’s settings.
2. Adjusting Font Size in Finder and Desktop
If you have only problem with Finder and Desktop text size, it is easy to adjust that without going through Accessibility settings as explained above. Note that desktop is part of Finder on Mac (that’s why you always see the Finder menus in top Menu Bar). So, the text size will be always same on Finder and Desktop.
2.1. From Desktop
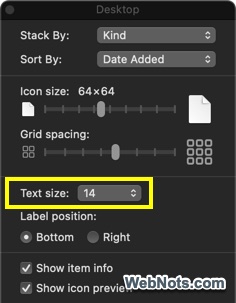
- Simply right-click (Control + Click) on the empty area of desktop.
- Select “Show view options” from the context menu.
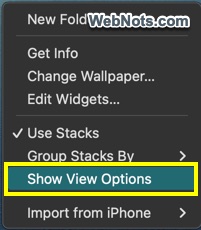
- This will open “Desktop” pop-up, click on the “Text Size” dropdown and select your preferred text size.
2.2. From Finder App
- Open Finder app from your Dock or using Spotlight Search.
- Navigate to the “View” menu and choose “Show View Options” or press “Command + J” shortcut keys.
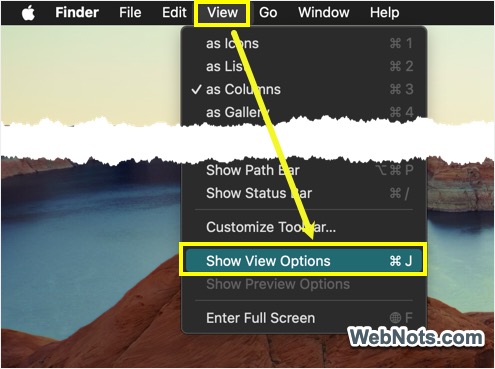
- This will open “Documents” pop-up, click on the dropdown against “Text Size” and choose your preferred font size.
- Changes will be applied instantly.
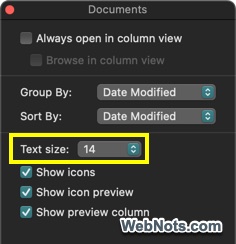
Using these two methods, you can only select the text size from 10 to 16 pixels. However, Accessibility setting allows you to select the size from 9 to 42 pixels which is an advantage over these two methods.
3. Changing Terminal Font Size
Mac uses 11 pixels as default text size in Terminal app which will be a real problem if you frequently use that app.
- Launch the Terminal app from the “Finder > Applications > Utilities” folder (or use Spotlight Search).
- Go to “Terminal > Settings” in the menu bar to open “Profiles” pop-up
- Go to “Profiles” tab, select your profile from the list.
- Navigate to “Text” tab and click on the “Change…” button under “Font” heading. You can see the current font as “SF Mono Regular 11”.
- This will open “Fonts” pop-up where you can change the size, style and typeface.
- Close the pop-ups, close and restart Terminal app for the changes to take effect.

4. Changing Font Size in Other Apps
You can change the text or font size in most of the macOS apps settings.
- In apps like Notes, Messages and Mail go to the settings by pressing “Command + Comma” keys or from the menu (for example – “Notes > Settings…” menu in Notes app). find the “Text size” or “Font size” option and set your desired size.
- Apps like Pages, Numbers and Keynote have their own setting for adjusting font size and zoom.
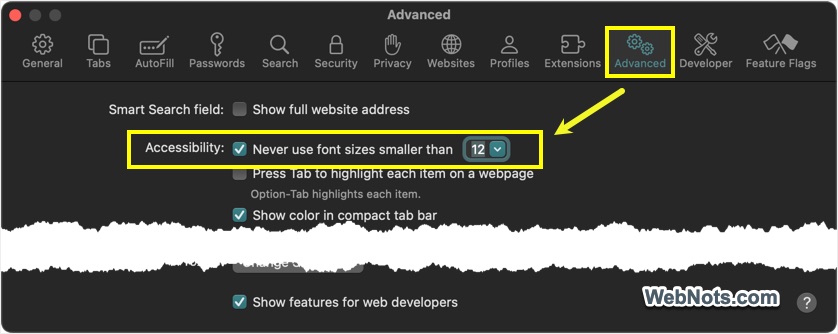
- On Safari, you can use zooming or set the minimum font size to avoid eye strain. Go to “Safari > Settings… > Advanced” section and check “Never use font size smaller than” option and enter the size in the box.
Zoom and Resolution
Instead of changing text size, you can also use zooming option or change the resolution to check if that helps.
- Zooming: Press “Command and +” keys to zoom in and “Command and –“ keys to zoom out in any default app. you can also use “Command and 0” keys to quickly reset the zoom to actual size. Click the Apple menu in the top-left corner and select System Preferences (or System Settings in macOS Ventura and later).
- Adjusting Resolution: Go to “Apple Menu > System Settings… > Displays” and select scaling for your display. “Larger Text” option helps to show the text in bigger size while “More Space” help to squeeze the text on the display.
While zooming affects only that application, changing the resolution will affect entire system including app icons and text.
Conclusion
Adjusting the preferred text in Accessibility settings is the best option to increase or decrease text size on Mac. However, if you only want to adjust a specific app, then use the app’s settings page for that purpose.