Though most websites are readable in popular browsers on mobile and laptop devices, the font size will smaller when you read webpages on desktop devices. Adjusting the default page zoom level in your browser can make reading and navigating websites more comfortable on desktop devices. Instead of zooming in or out manually every time, you can set a preferred zoom level for all webpages. Here’s how you can configure it in Google Chrome, Safari, and Microsoft Edge.
Zooming Individual Website Vs All Sites
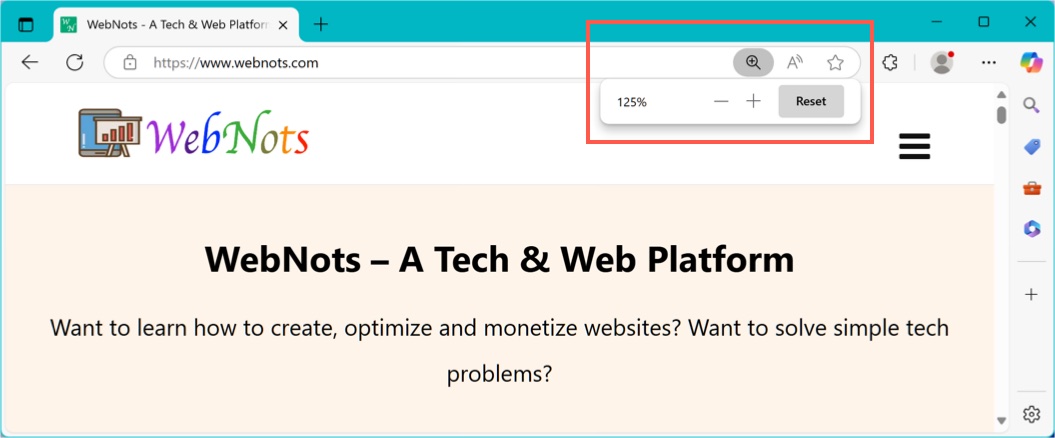
Most browsers allow you to adjust zoom for individual websites. However, browser will apply the setting only for that specific website and not for other sites. Look for a magnifying glass icon in the address bar to make per-site adjustments. You can also quickly zoom in or out using keyboard shortcuts:
- Windows: Ctrl + + (zoom in) or Ctrl + - (zoom out).
- Mac: Command + + (zoom in) or Command + - (zoom out).
- Press Ctrl + 0 (Windows) or Command + 0 (Mac) to reset the zoom to the default level.
On other hand, increasing the zoom level in browser’s settings page will affect all websites you open. The ultimate purpose is to read all website content conveniently on your browser.
1. Setting Default Zoom Level in Google Chrome
Google Chrome makes it simple to set a default zoom level for all websites.
- Open Chrome and click the three-dot menu in the top-right corner.
- Select “Settings” from the dropdown menu.
- Go to “Appearance” section on the left-hand menu.
- Look for the “Page zoom” option and click the dropdown menu against it.
- Select your desired zoom level (e.g., 125%, 150%, or any other percentage). Chrome allows you to set the zoom level up to 500%.
- In addition, you can also change the font size to very small, small, medium, larger or very large to make the content readable for your eyes.

2. Setting Default Zoom Level in Safari Mac
Follow the below steps in Mac Safari browser.
- Open Safari app and go to “Safari” menu and select “Settings…” option from the top menu bar.
- Go to the “Websites” tab and select “Page Zoom” option in the left-hand sidebar.
- You’ll see a list of websites you’ve visited and their respective zoom levels. Use the dropdown next to “When visiting other websites” at the bottom to set a global default zoom level. This will be applied to all websites other than those listed sites with custom zoom level.

3. Setting Default Zoom Level in Microsoft Edge
Microsoft Edge offers a similar feature like Chrome, allowing you to change the default zoom level with ease.
- Click the three-dot menu in the top-right corner of Edge and select “Settings” from the menu.
- Navigate to “Appearance” section in the left-hand panel.
- Scroll down to the “Zoom” section and click the dropdown against “Page zoom” option.
- Select your desired default zoom level.
- Also, scroll down to bottom of the settings page and set your desired font size.

Edge will now use this zoom setting across all pages unless overridden by individual site settings.
Note: Each website uses its own design like font size and font family. So, the site mostly will not follow the browser’s font settings. So, you should rely on zoom level to increase or decrease the size.
Conclusion
Adjusting the browser’s zoom level will not change the original font size of a website. Instead, it increases or decreases the content displayed on the screen, making it easier to read if the text appears too small or too large. When a custom zoom level is applied, a lens icon (usually with a “+” or “-” symbol) appears in the address bar. To reset the zoom level to the default 100%, click on the lens icon and select “Reset” option.