WordPress iOS app is one of the ways for making your mobile devices more productive by creating posts and managing comments on the go. If you have enabled Jetpack site stats module on your site then there is an easy way to monitor live traffic data using Jetpack mobile app. This app offers Stats widget which you can add to home screen and widget area of your iPhone. In this way, you can monitor the traffic statistics of your WordPress.com and WordPress.org sites right from the iPhone screen without logging into your site or opening the app.
What You Need?
You need the following two things:
- Installed Jetpack and activated “Stats” module on your site.
- Downloaded and installed Jetpack app on your iPhone.
Step 1 – Activating Stats Module
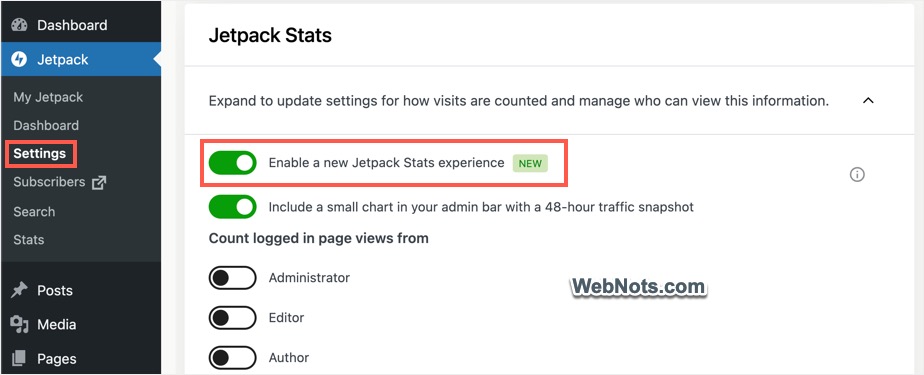
Assuming you already have Jetpack plugin installed on your site, login to your WordPress dashboard and navigate to “Jetpack > Settings” section. Scroll down and expand “Jetpack Stats” module. Turn the switch on for “Enable a new Jetpack Stats experience” option. Jetpack plugin will automatically update your settings and start showing the site’s stats.
Remember that Stats is a free feature only for personal and non-commercial sites. If you are running a commercial site, then make sure to purchase a Jetpack subscription plan. You can check this Jetpack support document to understand whether you can use the free plan.
Step 2 – Install Jetpack App
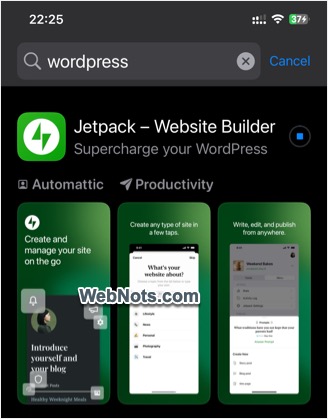
iPhone App Store will have two apps – WordPress and Jetpack. Earlier, the Stats was available in WordPress iOS app which has been changed and now you need to install the “Jetpack – Website Builder” app. After installing, connect the app with your WordPress.com account.
Step 3 – Adding Stats Widget in Home Screen
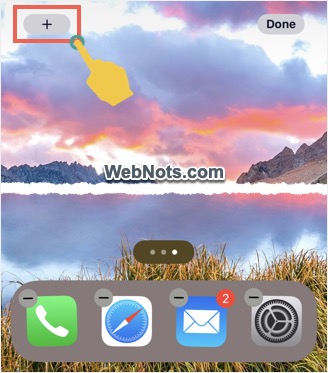
Press and hold on the empty area of your home screen to view additional options. Tap on the + button showing on top left corner of the screen.
Search and find Jetpack widget and tap on it to open the available styles.

There are small, medium and large style Stats widget available. Select the style you like to add in your home screen and tap on “Add Widget” button.
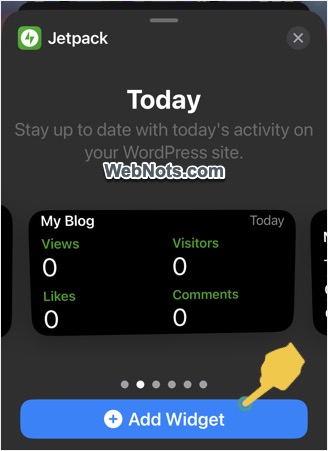
Now your site is added to iPhone home screen and starts showing traffic statistics. Learn more about customizing home screens in iPhone.
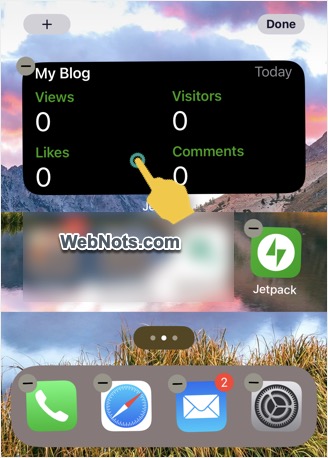
To show the Stats in widget area, swipe left on the home screen to reach the widget area section. Scroll down to bottom and tap on “Edit” button. Now, you can search and add Jetpack Stats widget similar to adding it in the home screen.
Note: After iOS 17 and macOS 14, you can use iPhone widgets on your Mac’s desktop. This means, you can add Jetpack Stats widget on your Mac and monitor the statistics using the iPhone app.
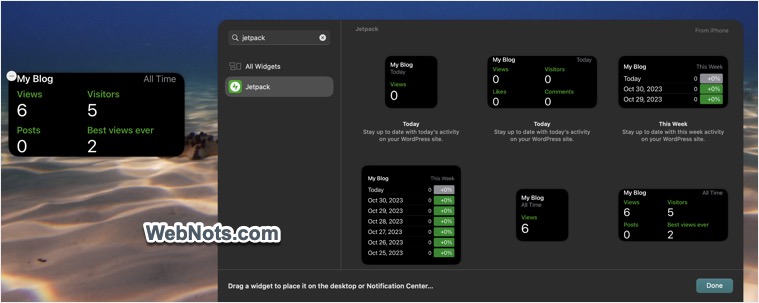
Step 4 – Changing Site in Stats Widget
If you are using Jetpack on multiple sites, then it is possible add multiple Stats widgets to monitor traffic of all the sites. Alternatively, you can use one widget and change the site when needed.
- For changing the site, tap and hold on the Stats widget and select “Edit Widget” option.
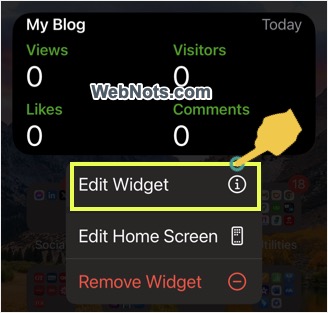
- Tap on “Choose” and select the site that you want to show in the widget.

- Now, the Stats widget will be updated to show the traffic details of the selected site.
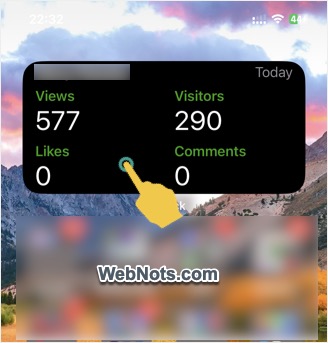
Stats widget will show the traffic details of “Today” view with number of views, visitors, likes and comments. You can’t change this to show weekly or monthly statistics. The details are shown based on the timezone you setup in the app and not based on the timezone of your iPhone.