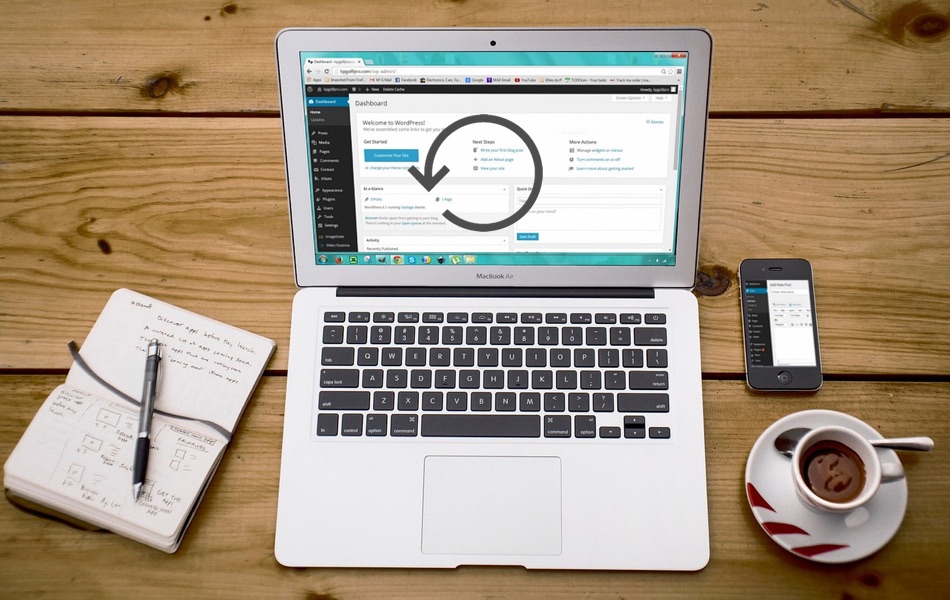
Installation of WordPress needs a hosting server, domain name, email and probably you need a good theme and plugins. Before starting the installation process, we strongly recommend you to understand what are the things needed related to domain name. If you are new to WordPress, check the followings to get an overall understanding.
Importance of Domain Name
Since domain name will be your site address users will remember, make sure to choose it wisely. Users can easily remember short and relevant names compared to lengthy and domains with special characters (like hyphen). Over period, your domain name will start gaining authority for the topics you write or the business you offer and you will get a ranking position in search engines to drive traffic.
1. Free Vs Premium Domain
Many hosting companies offer 1-year free domain along with their hosting plans. However, you need to renew it with much higher cost compared to popular domain registrar companies like GoDaddy, Namecheap, etc. In addition, later transferring your domain will be a hassle when you decided to go with another hosting company. So, we recommend purchasing a domain separately from a registrar for a cheap price instead of going with your hosting company.
2. Choosing Domain During WordPress Installation
You will have the following options to choose a domain during WordPress installation:
- New domain which you want to register afresh with hosting company (generally, this will be free for first year).
- Existing domain purchased from another registrar which you want to associate with your hosting account. It is also possible to use an existing domain that you have already purchased from your hosting company.
- Use a temporary domain name and test the hosting setup. This is useful if you are not happy with hosting and claim your money with money back guarantee option.
Below is an example from SiteGround hosting asking to choose a domain name. Go with temporary domain for for testing purposes, otherwise, use existing domain option to link a domain purchased from another registrar. It is also possible to create a subdomain of any associated domain and install WordPress on a subdomain. You can do this later in hosting panel after adding a domain.

3. Using WWW or Non-WWW
During installation, you will have an option to choose the domain with WWW or without WWW. This will decide how your site URLs will look – https://yoursite.com or https://www.yoursite.com. WWW setup is recommended as some CDNs need that.
Note: WWW is a subdomain of your domain which will be available by default and you do not need to create this.
4. Selecting Installation Location
By default, WordPress will be installed on the root directory called “/public_html/”. As mentioned, you can install on other directories like “/public_html/wordpress/”. You can add the directory during the time of installation and need not to create it in advance.

Installing on a specific subdirectory or a subdomain are technically same from the file structure perspective. For example, a directory installation like “www.yoursite.com/wordpress/” and a subdomain installation “http://wordpress.yoursite.com/” will create a folder “wordpress” under root directory like “/public_html/wordpress/”. The difference is the URL which you can define in WordPress admin dashboard frontend.
5. DNS Settings and Domain Accessibility
Once you decided your domain name and installed WordPress, open it in a web browser to check whether it is accessible. Everything should look fine if you have a temporary domain or purchased a domain from your hosting company. Because, your hosting company will take care of the backend DNS setup to link your domain and server. However, for domains registered with third-party companies need a DNS setup change to point your domain to hosting server.
- Check your hosting setup and get the nameservers. You can also get in touch with your hosting company to get these details if you are not able to find.
- Login to your domain registrar account (like GoDaddy) and open your DNS zone editor.
- Change the name servers to your current hosting company’s name servers.
This will transfer the DNS ownership to hosting company and your domain registrar’s DNS settings will be disabled once the changes are propagated. Below is how the nameserver change screen will look in GoDaddy.

Remember, you may need to wait some time for the DNS changes to take effect. Once you changed DNS settings, it may take up to 72 hours for the changes to propagate and effective in live. Again open your site’s URL in a browser to check the accessibility.
Note: Ensure your URL does not show any error in the browser like 404 page not found, otherwise you will not be able to open your WordPress admin dashboard as well as site, though you will be still able to install WordPress.
Final Words
Once your site is accessible, you can anytime login to WordPress admin panel and change the temporary domain to a permanent domain. After that, you can start creating content and publish them.