WordPress Gutenberg editor offers Image block for inserting an image as a separate element (above or below another element). You can also change the Image block’s alignment to left or right, or use “Media & Text” block to create a columned layout. However, have you ever wondered, how to add a small icon or image in-between the paragraph text content? This is called inline images and is very useful when you write instructional posts to enhance the visual appeal making information clearer and more engaging. In this article, we will explain various methods to add inline images in WordPress.
Understanding Inline Items
Before proceeding, here is an example of what we talk. The hand image is placed inline in-between the text content without affecting the alignment.
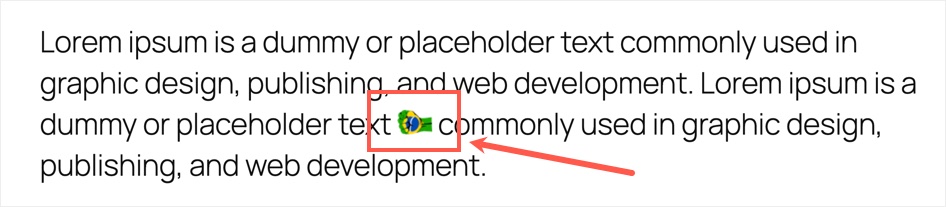
First, prepare your image in smaller size from 25 to 30 pixels height. Make sure the image is clear and use one of the following methods depending on your need.
1. Using the Gutenberg Block Editor
This is an easy method in Gutenberg editor and works without affecting the line height.
- Open the post or page where you wish to add the inline item.
- Add your text content inside a paragraph element.
- Place your cursor where you want the image to appear inline.
- Click the “More” option (small down arrow icon) on the toolbar and select “Inline Image”.
- Upload your image or select one from your Media Library.
- The image will appear within your text, and you can continue typing.

You can double-click on the inserted image to adjust the width and add alt text.

2. Using Classic Editor
If you are using the older Classic Editor, adding inline items is primarily handled via the toolbar or HTML view.
- Place the cursor in the text where you want the image.
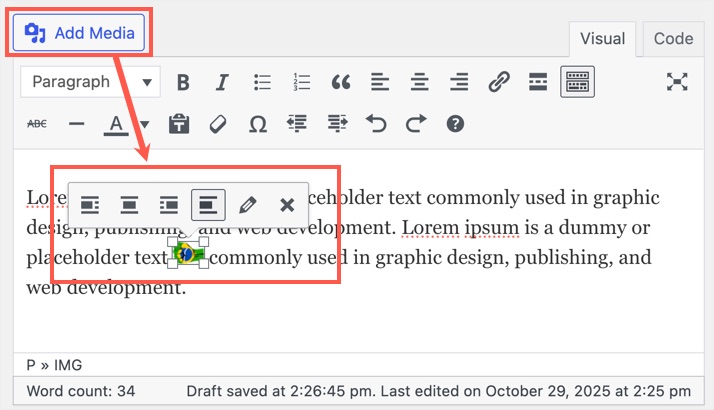
- Click the “Add Media” button.
- Insert an image and make sure to select “No Alignment” option to maintain inline flow.
- Click on the inserted image and drag one of the corners to resize if necessary to adjust the line height.
3. Adding Inline Items with Custom HTML and CSS
Users comfortable with coding, you can achieve more precise control using custom HTML and CSS. For example, paste the following code inside a Custom HTML block and the display:inline-block will align the image inline (replace the Image URL ins src parameter with your image’s URL).
<style>
img.a {display: inline-block;}
</style>
<p>Lorem ipsum dolor sit amet, consectetur adipiscing elit. Vestibulum consequat scelerisque elit sit amet consequat. Aliquam erat volutpat. <img class="a" src="Image URL"> gravida nisl sit amet facilisis. Nullam cursus fermentum velit sed laoreet. </p>
Click the “Preview” button on the toolbar to see the results before publishing your content.
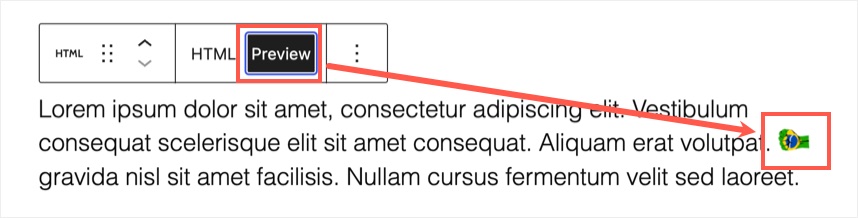
This approach gives you total control over the placement, size, and behavior of your inline items. For example, you can add border / padding in CSS and height / width in HTML img tag.
<style>
img.a {display: inline-block;padding: 2px;border: 2px solid red;}
</style><p>Lorem ipsum dolor sit amet, consectetur adipiscing elit. Vestibulum consequat scelerisque elit sit amet consequat. Aliquam erat volutpat. <img class="a" src="Image URL" width="25px"> gravida nisl sit amet facilisis. Nullam cursus fermentum velit sed laoreet. </p>
The result will show like below.
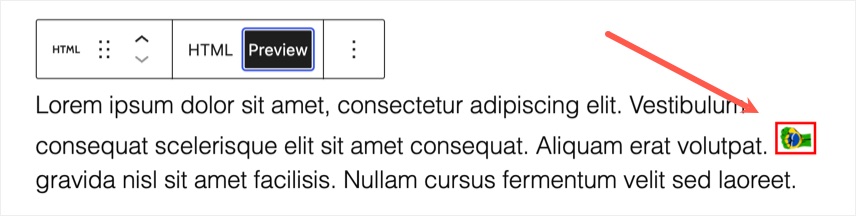
In addition, you can save the CSS centrally under “Appearance > Customize > Additional CSS” section (applicable for non-block themes) or create the Custom HTML block as a pattern to reuse wherever needed.
4. Use Emoji as Alternate Option
There are almost 4000 emojis and thousands of other Unicode symbols supported on WordPress. Good thing is that these symbols behave like a text content and these symbols are sufficient for your need in most cases. Below is an example:
Here is an emoji for food 🍲 and here is another symbol for running 🏃♂️➡️ from Unicode.You can find the emojis from online emoji picker tool or using alt key shortcuts.
Tips for Effective Inline Item Use
Here are some of the tips for using inline images on your site:
- Inline items should enhance your content and not overwhelm the reader (like using inappropriate emoji or icon).
- As mentioned, make sure to use the small, clear image and avoid using oversized images that disrupt line spacing.
- If you are using multiple images, ensure all inline items match the overall design of your site.
- If the image is misaligned, adjust the size or vertical alignment styles to ensure the item lines up with surrounding text.
- Check how your inline items appear on different devices (desktop, tablet, mobile) to make sure the readability and user experience are good.