Gone are the days people open the laptop or sit in front of the desktop for reading an email, downloading a PDF, or printing a document. Smartphones are capable of doing all these things right from your hand. However, many users do not know or bother managing files and organizing them properly in folders, especially on iPhone. For example, have you ever wondered where your downloaded PDF file has gone? In this article, we will explore how you can manage your files and folders on iPhone effortlessly.
Understanding Files App on Your iPhone
iPhone comes with a default file management app called Files introduced in iOS 11 and continually enhanced in subsequent updates. The Files app is the centralized location of keeping all your documents and folders, allowing you to browse, organize, and share content with ease.
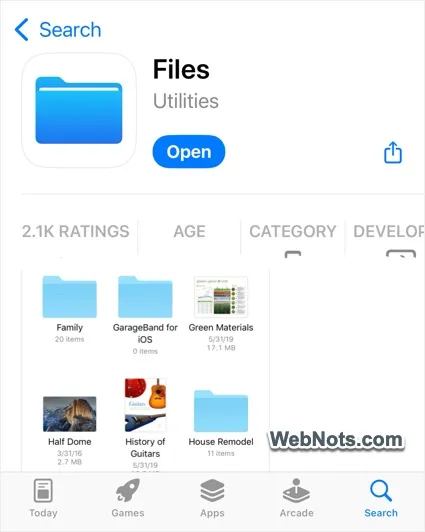
- Though Files app is pre-installed on all iPhone, it is possible to delete the app (documents will not be deleted). So, if you have mistakenly deleted it, you can re-download it from the App Store at no cost.
- Files app integrates your iCloud Drive, local storage (“On My iPhone”), and any third-party cloud services such as Google Drive, Dropbox, or OneDrive that you have connected.
- The app supports all type of files like documents, images, videos, PDFs, compressed files (.zip), and many other formats.
Note: All your photos including screenshots are stored in Photos app and those image files will not go to Files app automatically. However, you can manually copy the images from Photos to Files if required. Select the required photos (in Photos app), tap the “Share” icon and select “Save to Files” option for this.
Navigating the Files App
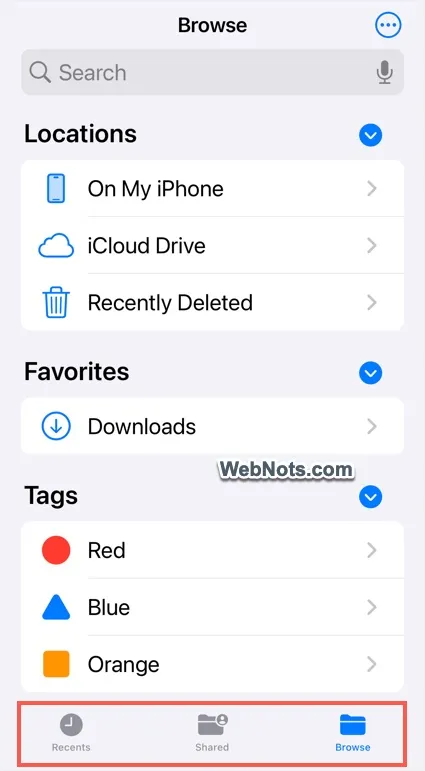
Simply search and open the Files app and you will see several key sections at the bottom:
- Recents Tab: Quickly access files you have recently opened or modified.
- Shared Tab: Quickly find the files and folders shared by you or with you.
- Browse Tab: Displays all storage locations and lets you navigate to favorites and tagged items.
In addition, you can the search box to instantly locate files by name, type, or content. Familiarizing yourself with these sections makes it easier to keep track of your materials and streamlines your workflow.
Creating and Organizing Folders
By default, downloaded documents from Safari and other browser apps will directly go to “Downloads” folder Files app. However, it is important to keep your files organized in folders, so that it is easy to find them later. There are multiple ways to create a new folder.
Create Empty Folder and Move Files
- First, go to the desired location (iCloud Drive or On My iPhone) in the “Browse” view. Tap and hold on the empty area and select “New Folder” option. Alternatively, tap the icon on top right and select “New Folder” from the menu.
- Give it a descriptive name such as “Project 1 Folder” or “Project 2 Folder”.
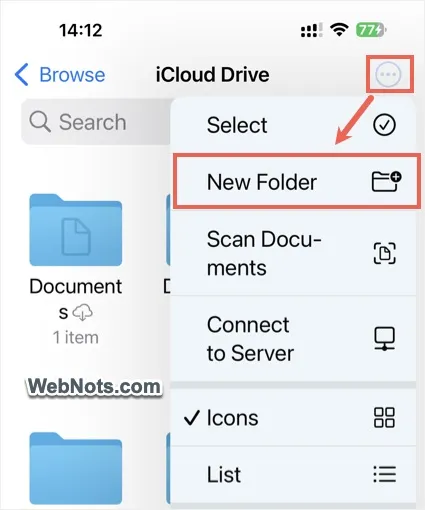
- Now that the folder is created, you can move the files. Go to “Downloads” or any other folder, tap on the action icon (three dots in a circle) on top right corner and then tap “Select” option.
- Select the required files (swipe on the files to select multiple files at once).
- This will enable the icons at the bottom and tap the folder icon.
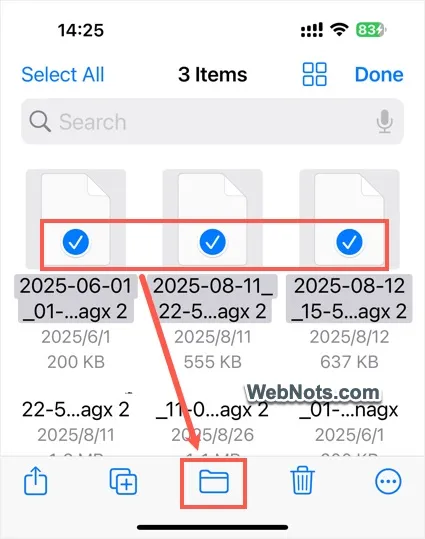
- Browse and locate the newly created folder and tap on “Move” to relocate the files in bulk.
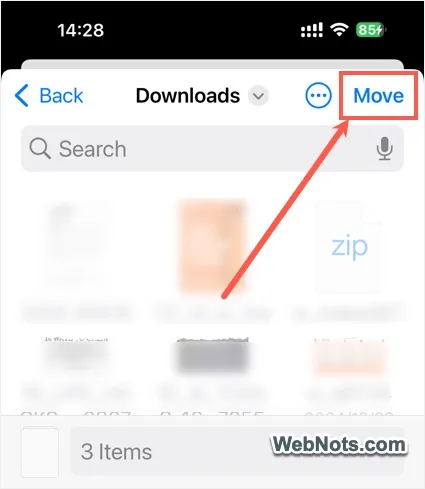
You can create subfolders within folders for deeper organization. For example, within “Work Documents,” create folders for “Invoices,” “Presentations,” and “Reports”.
Create New Folder with Selected Files
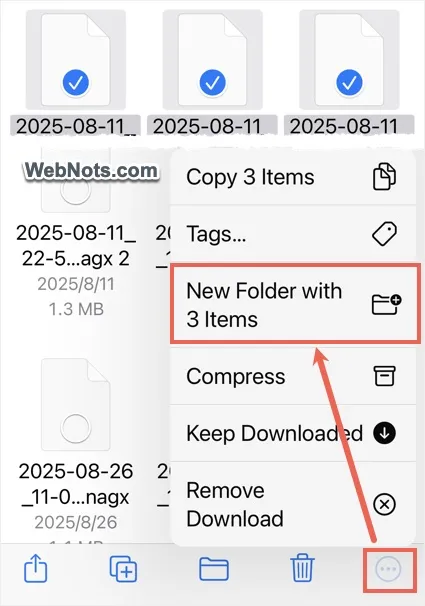
It is also possible to create a new folder with the selected items. For this, after selecting the files, tap on the three dots (action) icon on the bottom right corner and then select “New Folder with x Items” option.
Managing Files: Moving, Copying, Renaming, and Deleting
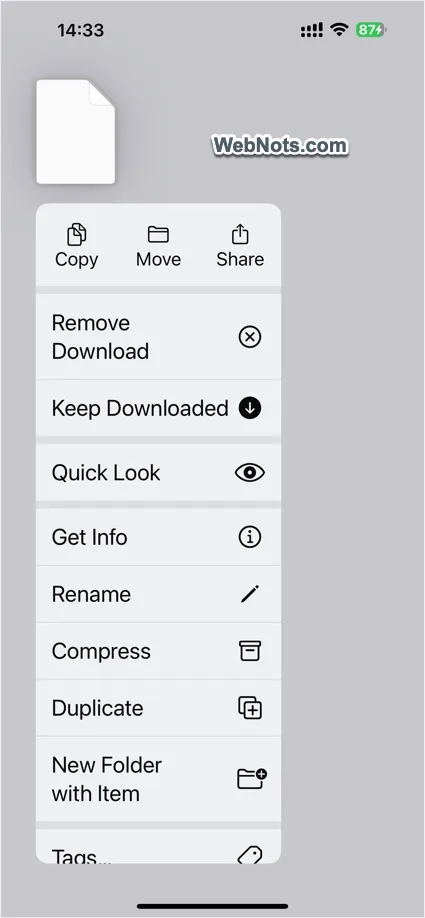
The Files app offers several actions for managing individual files. Long press on a single file to view the context menu and select the required action like move, copy, duplicate, rename, delete, compress (to a ZIP file), Quick Look, etc.
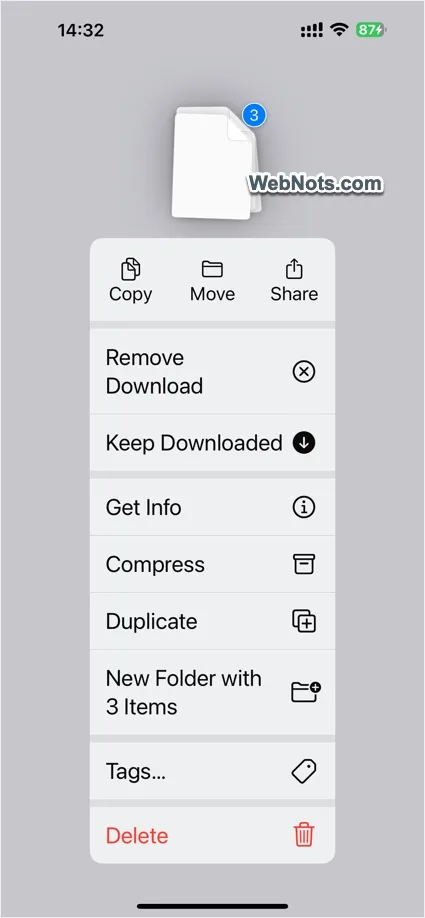
Selecting multiple files and then long pressing will also open similar context menu with slightly different options. You can’t perform renaming and Quick View with multiple files.
Note: Tap the action icon (three dots in a circle) on top right corner and select “Scan Documents” to quickly scan and save the image in Files app.
Tagging and Searching Files
Tags are a powerful way to categorize files across locations. Assign color-coded tags to files and folders for various topics. You can assign tags by long pressing on a file or folder and then selecting “Tags…” option. Go to “Browser > Tags” and select the tag name to view all associated files at a glance.
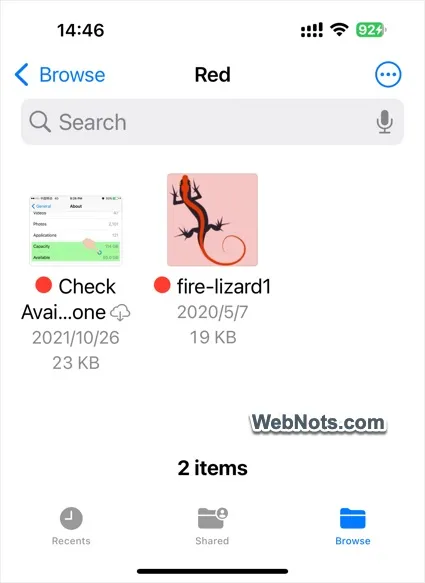
The advanced search function in Files can locate files by name, date, or content, even within scanned documents. This is invaluable for quickly retrieving information when you’re on the go.
Annotating and Sharing Files
Using the Quick Look feature (long press and select from context menu), the Files app lets you preview most documents like PDFs, images, and Word files, without needing additional software. You can annotate PDFs, mark up images, and make simple edits directly from your iPhone.
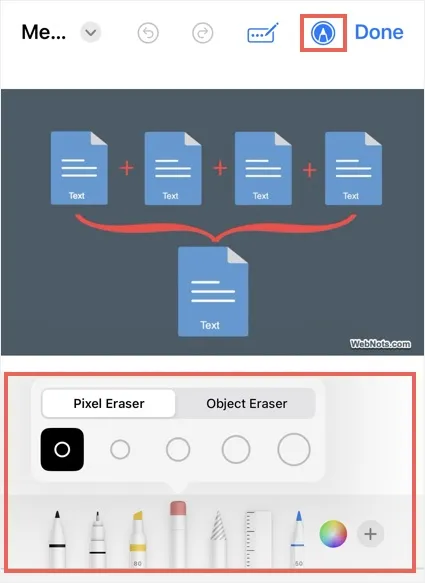
For sharing the files, simply tap on the share icon (at the bottom left) and select the required option. This will open the default share options in iOS allowing you to share using AirDrop, Messages, Mail or collaborate with other by generating an iCloud link for the file.
Tips for Effectively Using Files App
For users who want even greater control, consider the following:
- Use third-party file manager apps for features like FTP access, batch file operations, and advanced PDF editing. The Files apps also allows you to connect with server or using third-party storage services like Google Drive, Dropbox (you can select the location under “Browse” tab).
- Leverage document scanning within the Files app to digitize paper documents and save them as searchable PDFs.
- Deleted files can be recovered from the “Browse > Recently Deleted” folder for up to 30 days.