Creating and managing database is one of the basic tasks you will be doing as part website maintenance. SiteGround offers a Site Tools hosting panel which is different than the traditional cPanel setup. Though most features are same as cPanel, you will also have additional options like importing MySQL database without the help of phpMyAdmin. This article explains how to import and use another database content on your WordPress site in SiteGround.
Importing Existing Database
Importing database dump is useful when you want to restore old content with a new database name. It could be due to the current database is corrupted or you permanently deleted important posts or simply want to change name for security reasons. Note that SiteGround also offers 30 days backup for all shared hosting plans and 7 days backup for Cloud hosting. So, you should go for import option only when the system backup is not available or not useful.
Other purposes include, you are migrating from another company to SiteGround and want to import your old database.
Step 1 – Download and Upload Database in Server
If you want to download the current database in SiteGround and use it with different name/username, then go to “Site > MySQL > phpMyAdmin” section in Site Tools and click on “Access phpMyAdmin” button.

When you are in phpMyAdmin, go to “Export” tab and download your database as a SQL file.

If you already have database backup archive, make sure to extract and keep it as a SQL file. Follow the below steps to upload the file on your server.
- Go to “Site > File Manager” section in Site Tools.
- Navigate to root of your WordPress installation (generally /public_html).
- Click the “File Upload” icon from the toolbar and select your SQL file.
- Make sure the file is successfully uploaded and visible in the list.

Remember that SiteGround only allows to import database dump from their server and not from local computer. So, you should upload SQL dump file to the server as explained above or using FTP.
Step 2 – Create an Empty Database
Create an empty database, user and assign full privileges as explained in our previous article. SiteGround automatically creates name for database / user and you can’t use a custom name like in cPanel.

Note down the new database name, username and password details.
Step 3 – Importing SQL Dump
After that, go to “Site > My SQL > Databases” tab and click the three vertical dots showing below “Action” column against your newly created database name. You will see a fly-out menu and select “Import Database Dump” from there.

On the pop-up that appears, click “Browse” to choose your SQL file from the server location and then click “Import” button.

You will see a message showing the SQL file is imported successfully.
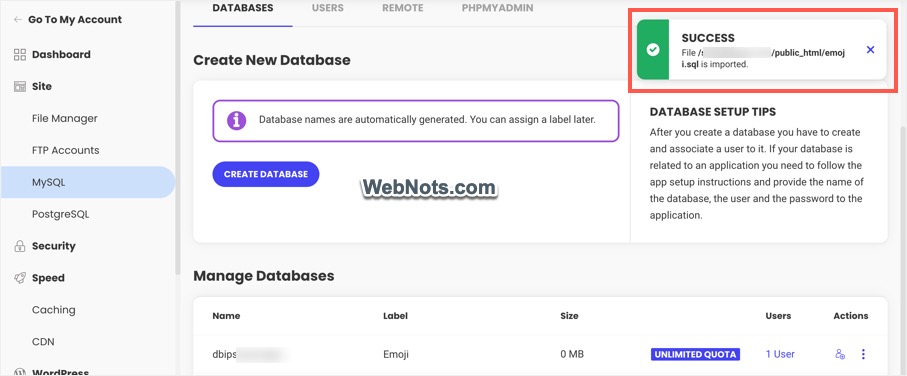
Go to phpMyAdmin and check the tables are available under the newly created database.
Step 4 – Linking New Database to WordPress
Now that you have a new database, it’s time to link that to your WordPress setup.
- Go to “Site > File Manager” section in Site Tools.
- Navigate to the root of your WordPress installation.
- Find and edit “wp-config.php” file.
- Replace DB_NAME, DB_USER and DB_PASSWORD with the new database name / username / password details.
- Save your changes.

Step 5 – Testing and Cleaning Up
Login to your WordPress admin panel and check all posts and other content are available. If everything goes fine, you can delete the old database from phpMyAdmin section. Finally, go back to File Manager section in Site Tools and delete the uploaded SQL dump file.
Note: If you see “Error establishing database connection” error, then check the details provided in “wp-config.php” file are correct.