In our earlier article, we’ve explained various maintenance tasks one should do in Windows 11 PC as a routine. Though some tasks need to be carried out manually, Windows automates few other tasks using the Automatic Maintenance feature that helps to keep your system running smoothly. However, this Automatic Maintenance may conflict with other third-party app you use for the same purpose or even slow down your system. In this guide, we’ll show you how to disable Automatic Maintenance in Windows 11 using different methods.
What Does Automatic Maintenance Do?
It can perform routine tasks such as software updates, security scanning, and system diagnostics.
Automatic Maintenance in Windows 11 handles tasks like:
- Installing updates (Windows updates, drivers).
- Running security scans (Windows Defender).
- Optimizing storage (Disk Defragmentation, TRIM for SSDs).
- Checking for system errors.
By default, it runs at daily 2:00 AM if the PC is idle. If the computer is in use, it waits for the next idle period.
Disable Automatic Maintenance
Unfortunately, there’re are no frontend options in Windows 11 to disable the maintenance schedule. So, the only option is to use the Registry Editor to modify Registry entries. Since editing the Registry incorrectly can cause system issues, make sure to backup your registry before proceeding.
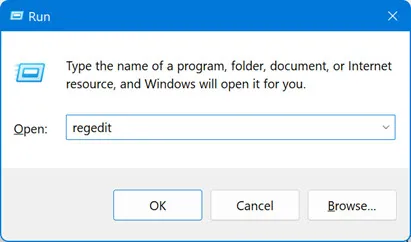
- Press “Windows Logo + R” keys to open Run dialog box.
- Type regedit in the box and press “OK” button.
- When you’re in the Registry Editor, navigate to HKEY_LOCAL_MACHINE\SOFTWARE\Microsoft\Windows NT\CurrentVersion\Schedule\Maintenance.
- Right-click on the right pane, select “New > DWORD (32-bit) Value” option.

- Name the item as “MaintenanceDisabled” and double-click on it.
- Type 1 in the “Value data” box and click “OK” button.
- Restart your PC to apply the changes.

Note: Value data 1 is for disabling Automatic Maintenance. You can anytime change the value as 0 which is for enabling Automatic Maintenance or simply delete the MaintenanceDisabled value.
Change Automatic Maintenance Schedule
As mentioned, by default, this feature runs at daily 2 AM during idle time. It is also possible to change this scheduled time to any other time you desire instead of completely disabling it.
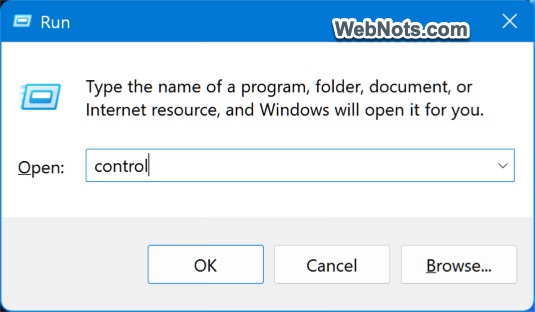
- Press “Windows Logo + R” keys to open Run dialog box.
- Type control in the box and press enter to open Control Panel app.
- Change the “View by” to “Large icons” and click on “Security and Maintenance” option.

- Expand “Maintenance” section and click “Change maintenance settings”.

- You can see 2:00 AM is set for “Run maintenance tasks daily at” option.
- Click the dropdown and select the new time. Check or uncheck “Allow scheduled maintenance to wake up my computer at the scheduled time” as you desire.
- Click “OK” button to save changes.

Manually Stop the Automatic Maintenance
If you know the Automatic Maintenance is started at the default or custom time, you can manually stop it.
- Go to Control Panel, paste “Control Panel\All Control Panel Items\Security and Maintenance” in the address bar and press enter.
- Expand “Maintenance” option and click on the “Stop maintenance” link.

Changing Group Policies
If you’ve multiple users on the system, then it is easy to change the scheduled time and delay the schedule for all users by adjusting system policies.
- Press “Windows Logo + R” and type gpedit.msc.
- Click “OK” to open Local Group Policy Editor app.

- Navigate to Computer Configuration > Administrative Templates > Windows Components > Maintenance Scheduler.
- There you’ll find policies related to Automatic Maintenance.
- Automatic Maintenance Activation Boundary – enable this policy and set a time to override the default time setup in Control Panel.
- Automatic Maintenance Random Delay – enable this policy and set a time to delay starting time from the scheduled time.
- Automatic Maintenance WakeUp Policy – enable this to make a system wake request when the maintenance is triggered.

However, Local Group Policy Editor app is only available in Windows Pro, Student and Enterprise editions and not in Home edition.
Conclusion
Automatic Maintenance helps to keep Windows 11 optimized, but you may want to disable it if it interferes with your workflow or causes unexpected wake-ups. You can disable it using Registry Editor or temporarily stops it from the Control Panel. If you disable it, consider running manual maintenance to keep your system healthy.