In our earlier article, we have explained how to create a MySQL database in cPanel hosting setup. However, many hosting companies like SiteGround uses custom hosting panel. Though the steps are same in creating a database, the appearance may look different. In this article, we will explain step-by-step process of creating MySQL database in SiteGround Site Tools and assign it in WordPress configuration file.
Creating Database in SiteGround
If you are creating a WordPress setup after purchasing a hosting plan or from Site Tools section, then you do not need to create a database manually. The process is automatic and SiteGround will create a database and user for you and assign it in WordPress wp-config.php file. Manual database creation is required only when you are manually installing WordPress or setting up another platform like PHP with database.

SiteGround Web Hosting
Get super fast managed WordPress hosting with free email, CDN, ultrafast PHP and three levels of caching on Google Cloud Platform.
1. Create a Username
- Login to your SiteGround account and go to the Site Tools section of your site.
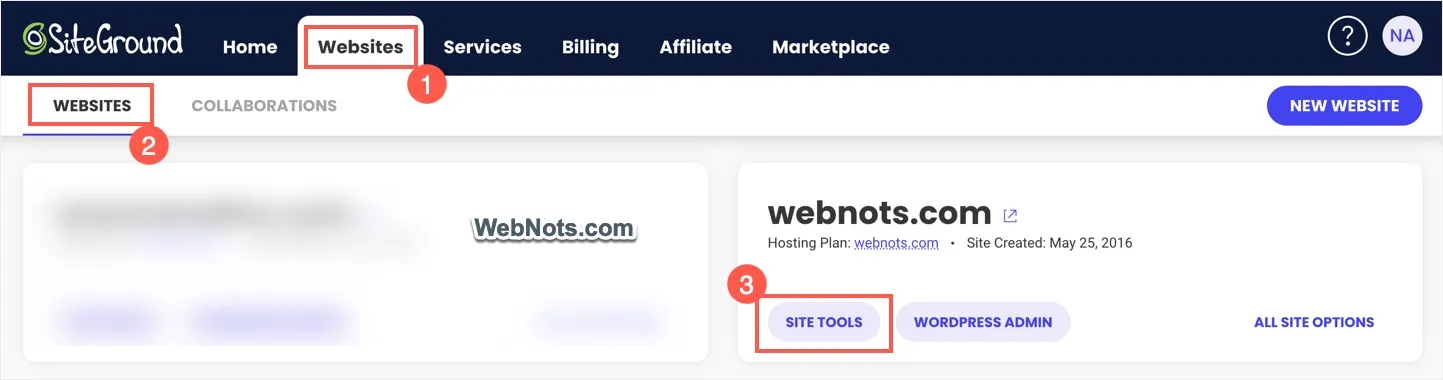
- Navigate to “Site > MySQL” section and then go to “Users” tab.
- Click on “Create User” button and SiteGround will automatically generate a complex username for your database.
- You can see the created username under “Manage Users” section.

SiteGround also create the password automatically along with the username. Note down and save the password as you need to enter this as explained in section 4.

2. Create a Database
- Now, go to “Databases” tab and click on “Create Database” button.
- SiteGround will automatically generate a database name for you.

3. Assign Username to Database
- You will see a success message showing database is created and click on the “Manage Access” button. Alternatively, click on the “Add New User” icon showing below the “Action” column under “Manage Databases” section.

- This will show a pop-up to assign required privileges for user to access the database. Select “All Privileges” option and click “Confirm” button.

Note: You can add “Label” to database names by clicking the three vertical dots showing under “Actions” column and selecting “Label” option. When you have multiple databases, labels can help to easily understand the purpose of each database as the name is automatically created.
4. Link Database to WordPress Configuration File
If your database is ready, the final step is to assign it to your WordPress installation. When installing WordPress manually, you will be prompted to enter the database name, user name and password details as shown below. By default, “Database Host” is “localhost” and “Table Prefix” is “wp_”. Sometimes, you need to get the host name from your hosting company which will be your hosting server address. Also, it is recommended to change the wp_ table prefix to something else for improving security. Once you click the “Submit” button, WordPress will create all base tables in your database.

If you want to change the database of an existing site, you can simply change the database name, username and password details in wp-config.php file. The file is located in your WordPress installation folder and you can edit using File Manager or FTP. Check under “MySQL Settings…….” section and replace your existing database details with the newly created one.