Although Pages is a free and official app from Apple, many macOS users continue to use Microsoft Word or Mac. In recent days, Word is cluttered with Copilot and you need a subscription to create / edit documents. In addition, some users also hesitate to spend time in learning how to use the Pages app. The best way to get started with Pages is to create a custom document template that you can reuse it for all your documents.
Default Document Templates in Pages
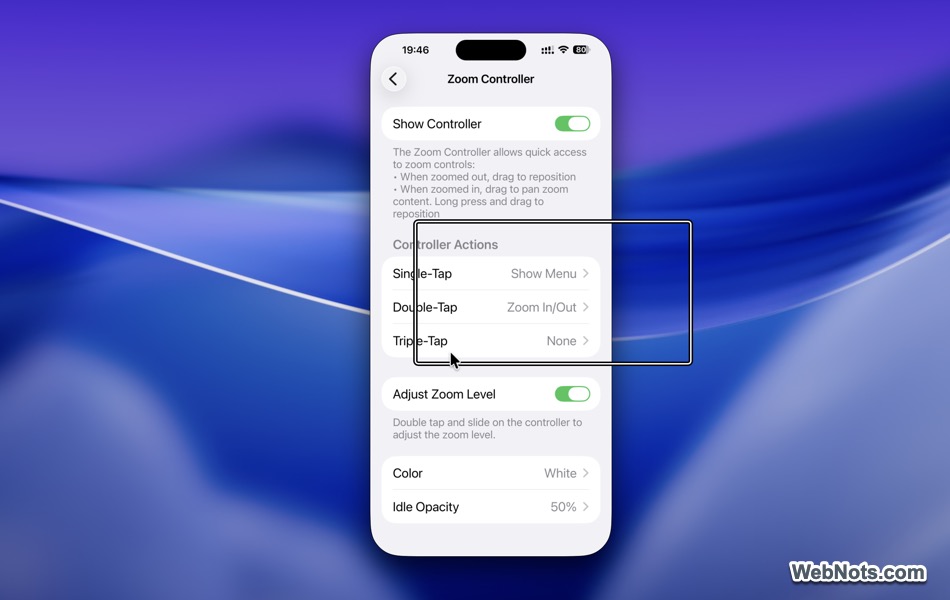
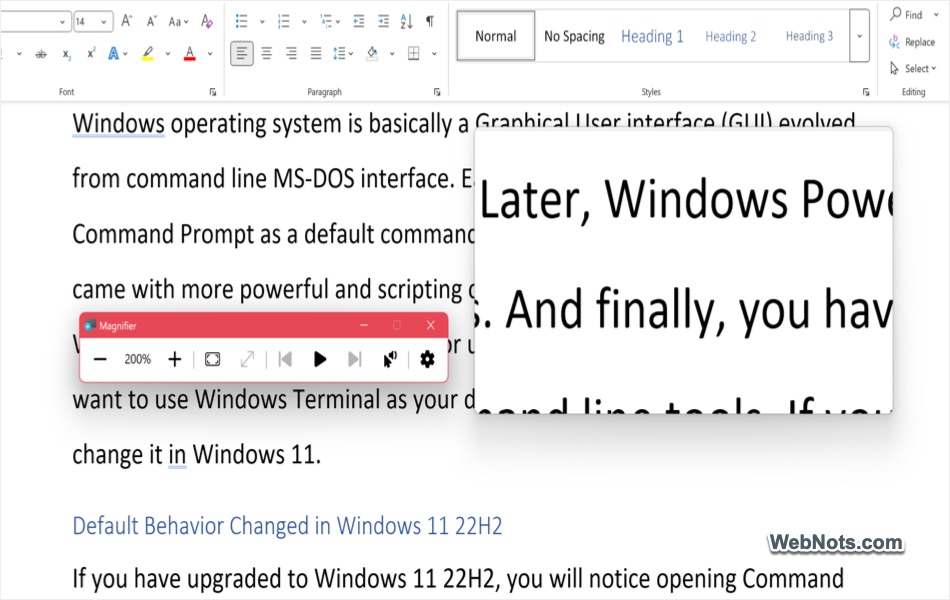
Whenever you launch the Pages app, it opens the “Template Chooser”, where you can select “Blank” to create an empty document. By default, this opens with an 11-point Helvetica Neue body font and a standard zoom level. On larger displays such as a 15-inch MacBook, a 21-inch iMac, or a 4K monitor, the interface can appear uncomfortably small.
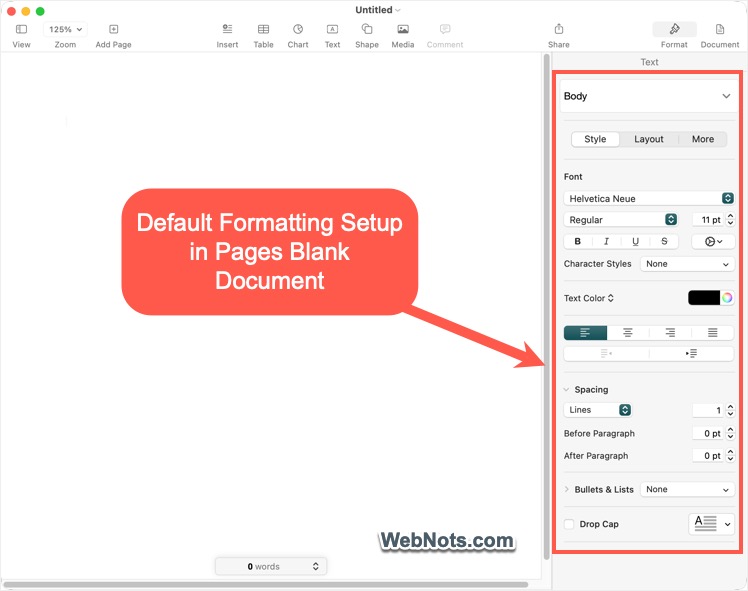
Unless you modify the template, you must start with the same blank document each time and redo your formatting from scratch. While Microsoft Word has a similar default behavior, it allows you to customize styles and save them to the default blank template (Normal.dotm), so all new documents automatically use those settings. Pages does not offer this level of flexibility.
Pages allows limited changes to the default blank template, such as setting a default font or zoom level. For more advanced styling, the only practical solution is to create your own custom template and use it instead of the standard blank template. In this way, you can avoid repetitive formatting and save significant amount of time.
Creating a Custom Template
- Open a blank document in Pages.
- Go to “View > Inspector > Format” menu to open formatting options in the sidebar.
- Select the element from the dropdown like Body, Title, or Heading.
- Customize the font family, color, size, alignment, etc. You can also adjust the spacing between lines and before / after paragraphs.
- Select the type of bullets & list from the dropdown and adjust the internet level as you need.
- Check “Drop Cap” option and select the style from the dropdown or adjust manually.
- After changing the parameters for each element, you will see an “Update” option showing against that element and click on it to save your changes.
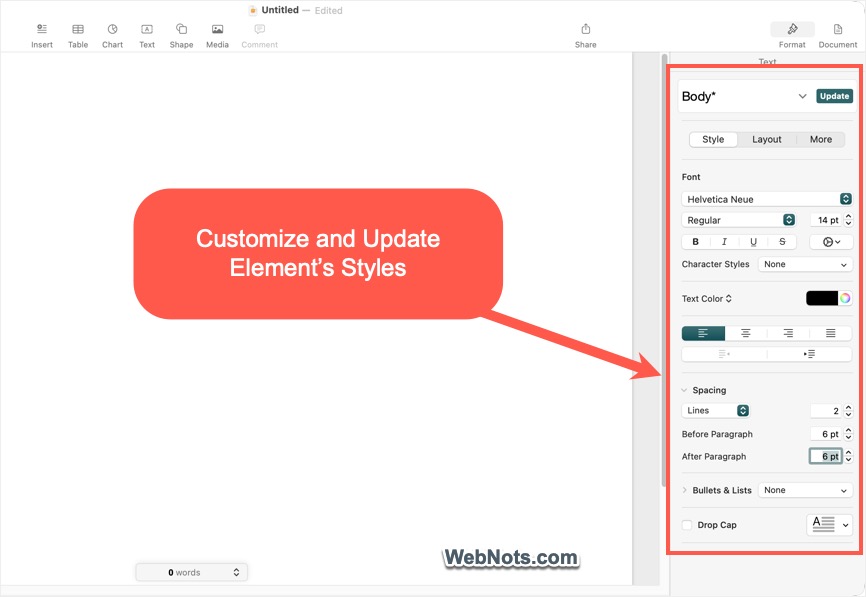
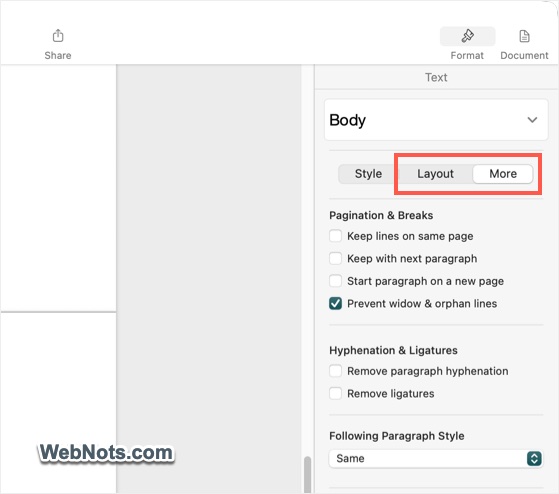
Remember that you should update the changes for each element, otherwise, the changes will be lost if you select another element. If required, go to “Layout” and “More” tabs in the sidebar and adjust other parameters for your template. You can also add a watermark or customize any other element on the document.
Saving a Custom Template to Library
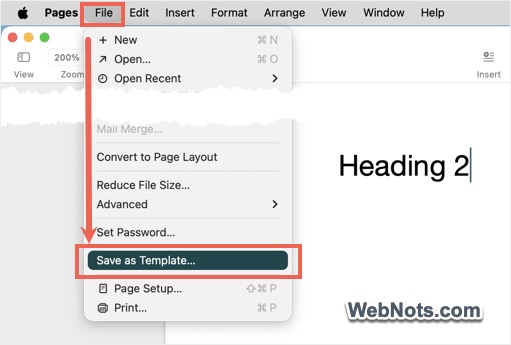
- Once you are done with the customization, go to “File > Save as Template”.
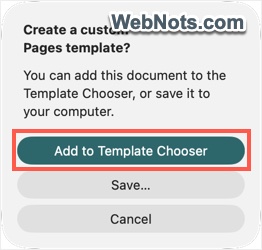
- You will be prompted to “Add to Template Chooser” or save on your computer and select the first option.
- Name your template and click “Create” button.
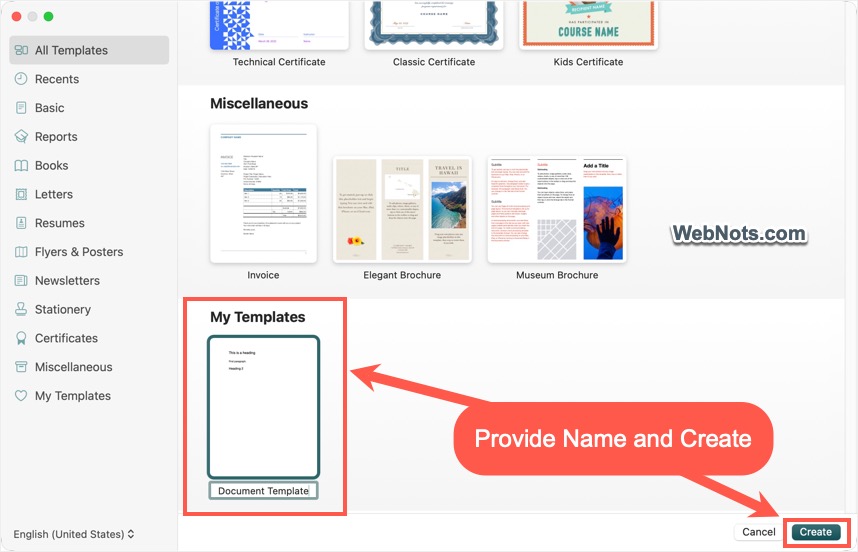
At this point, you can select the custom template whenever launching Pages app under “All Templates” or “My Templates” category. However, opening a new document (from “File > New” or by pressing “Command + N” shortcut keys), will either open a default blank template or show the “Template Chooser”. Follow the below steps to change this behavior and always open your custom template by default in Pages.
Changing the Default Template’s Settings
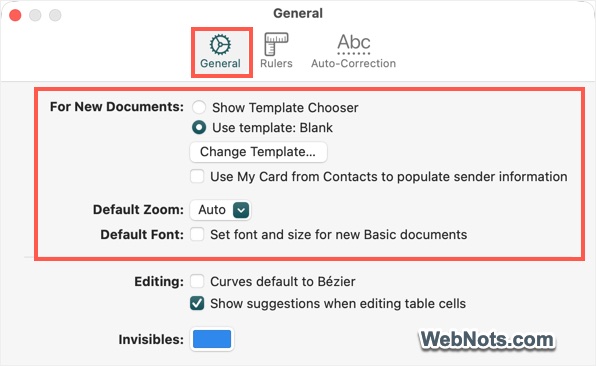
- Go to “Pages > Settings…” menu and make sure you are in “General” section.
- Click the “Change Template…” button against “For New Documents” option.
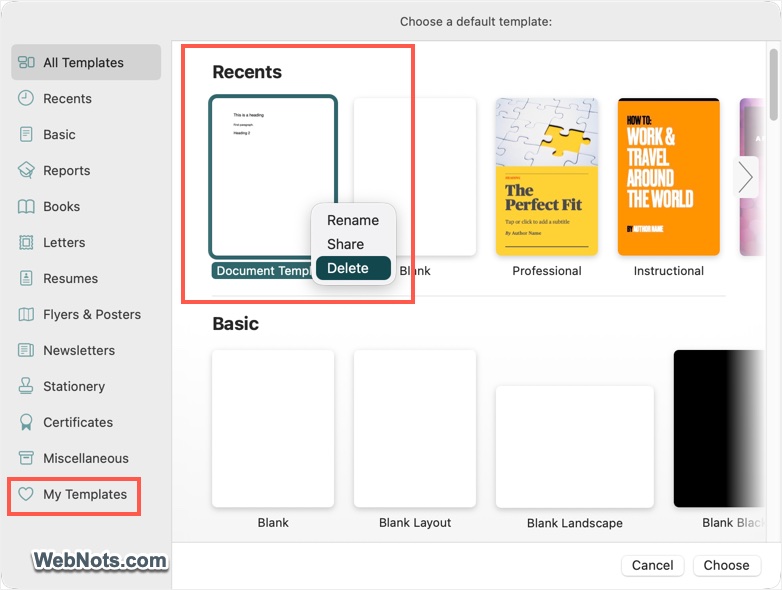
- Select your custom template from the list. You can also rename or delete a custom template from the Template Choose library.
- If you have a larger monitor, click the “Default Zoom” dropdown and select 200% or any other comfortable zoom level.
- Check “Default Font” option and choose the size and font family for all your new documents.
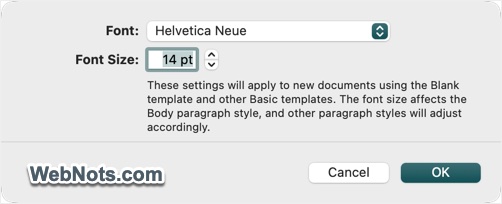
Remember, font size, family and zoom sizes will be applied to all new documents regardless of whether you open a custom template or a blank.
Using Page Layout and Page Templates
This article is primarily focusing on creating custom document templates as explained above. However, Pages also offer another type of document called “Page Layout”. You can save a document to Page Layout using “File > Convert to Page Layout” menu. Now, you can create individual page templates and reuse them within your “Page Layout” type of document.
Final Words
Creating a custom template with your preferred font, heading, and bullet styles might take less than 30 minutes on Pages app. Once finished, save it as a template and set it as your default. This lets you select it directly from the Template Chooser or open it automatically when creating a new document. You can also create multiple custom templates for different purposes and reuse them whenever needed, avoiding the need to start from scratch each time.