There are many page builder plugins in WordPress that allow you to create attractive page layouts and landing pages. WordPress Gutenberg also includes a Query Loop block that helps in creating post grids either from scratch or by using a limited set of predefined patterns. However, building even a simple grid layout with a page builder or Gutenberg blocks needs a considerable amount of time. So, using a dedicated plugin is usually the best option, as it allows you to complete the task in just a few minutes.
Using Post Grids in WordPress
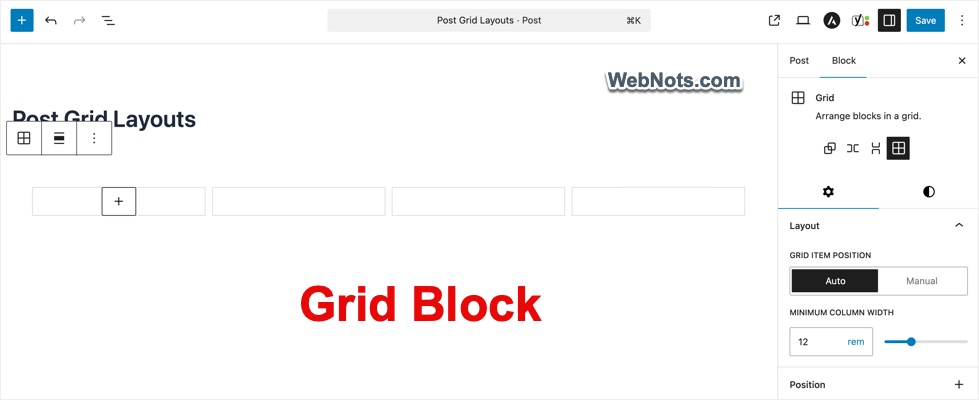
Do not confuse this article with Grid or Columns block which are meant to create multi-columned layouts.
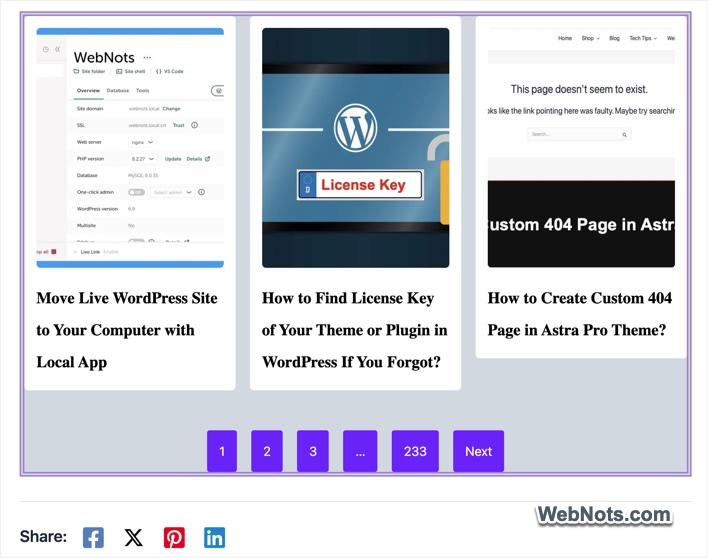
The post grid is something like the Query Loop block with customizable layout and additional options to filter.
Using Post Grid Plugin
When you are in admin panel, go to “Plugins > Add Plugin” section. Search and install “Post Grid” plugin on your site. This plugin allows you to create layouts (from All Saved Layouts menu) and grids (from Add Post Grid menu) separately. You can assign a layout when creating a grid. However, using Builder is the easy method to quickly create a grid, especially from the preset templates.
Creating a Post Grid Template
- Go to “Post Grid > Builder” section.
- Click the create button next to search box, provide a name and click the create button.
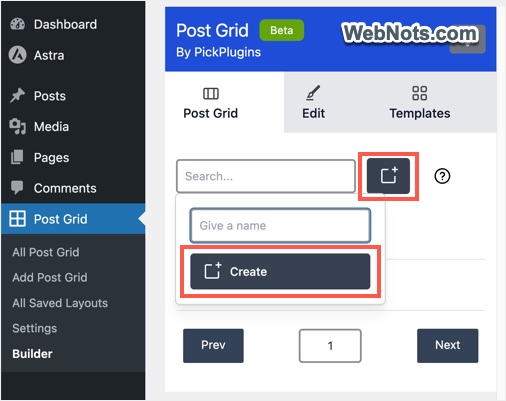
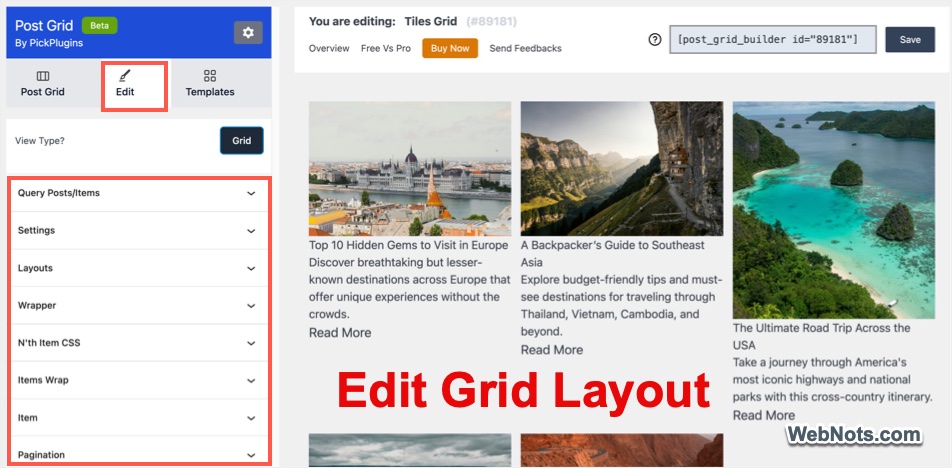
- Select the newly created grid’s name and go to the “Edit” tab.
- Customize the settings available under various tabs to change the query parameters, layouts, pagination, wrapper, etc.
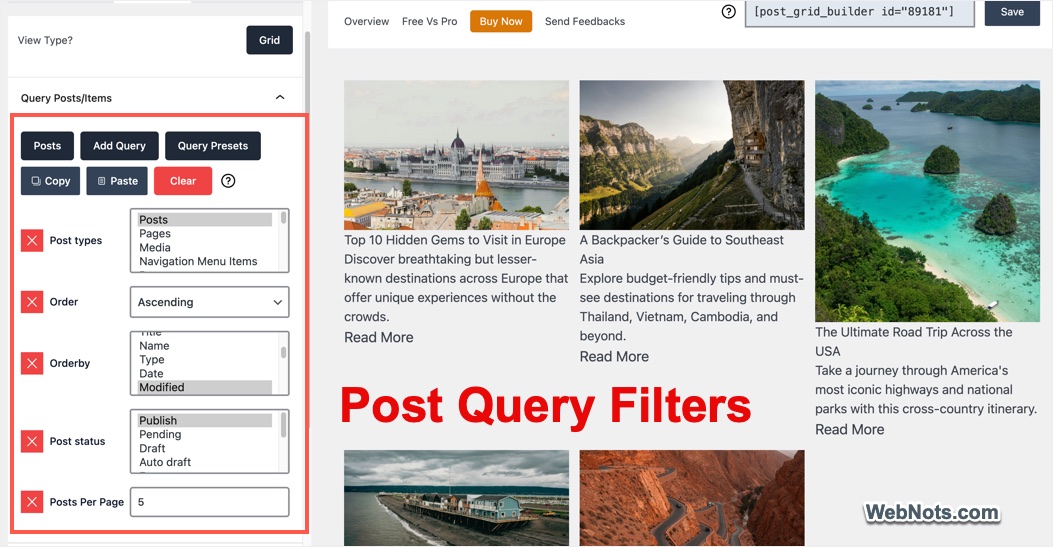
- For example, go to “Query Posts/Items” tab and select the filters for displaying post status, types, order, etc. Click the “Add Query” button to include additional filters not shown in the default list.
- Go to “Layouts” section and apply the style you like to use. Check the preview and you will see the beautiful grid is generated as per the layout.
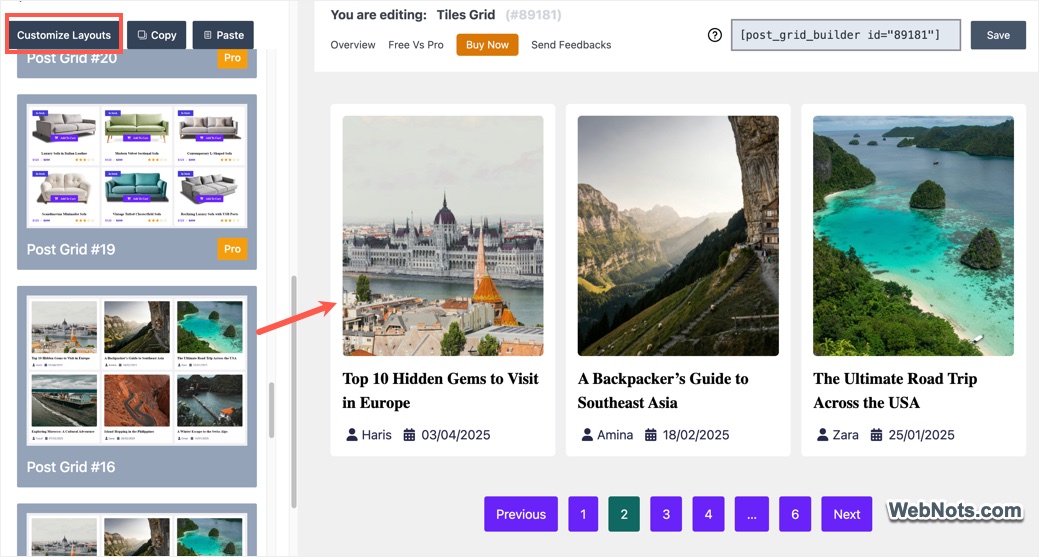
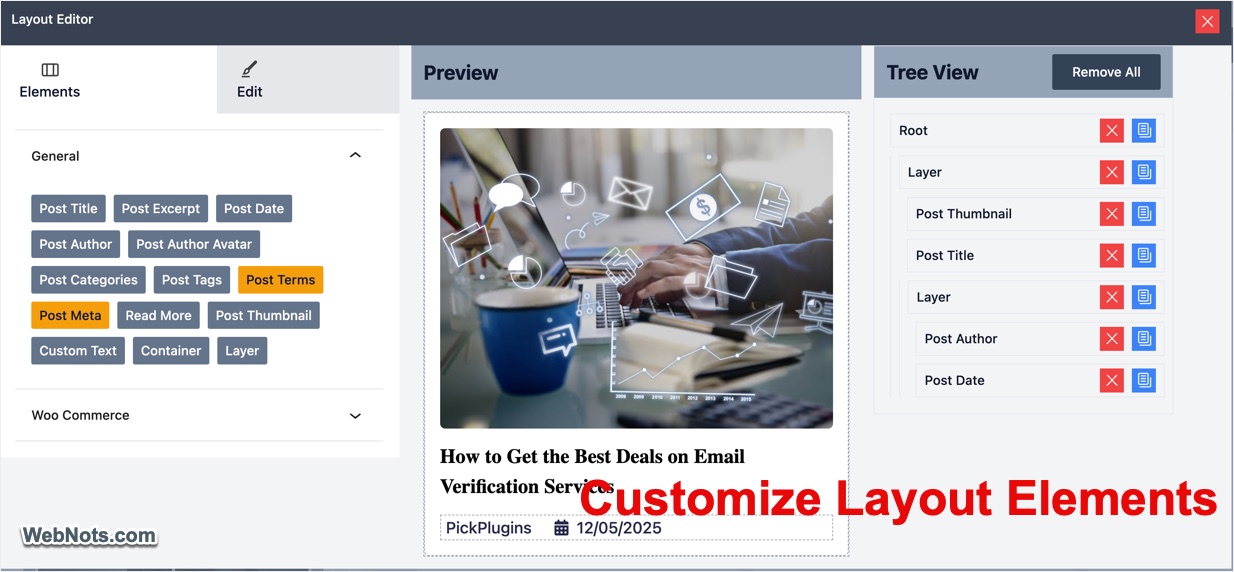
- Click the “Customize Layouts” button to add additional parameters to the grid items like post meta, author, tags, categories, etc. Click an item on the preview (for example – click on the featured image) to adjust the idle and hover state conditions like animation, alignment, etc.
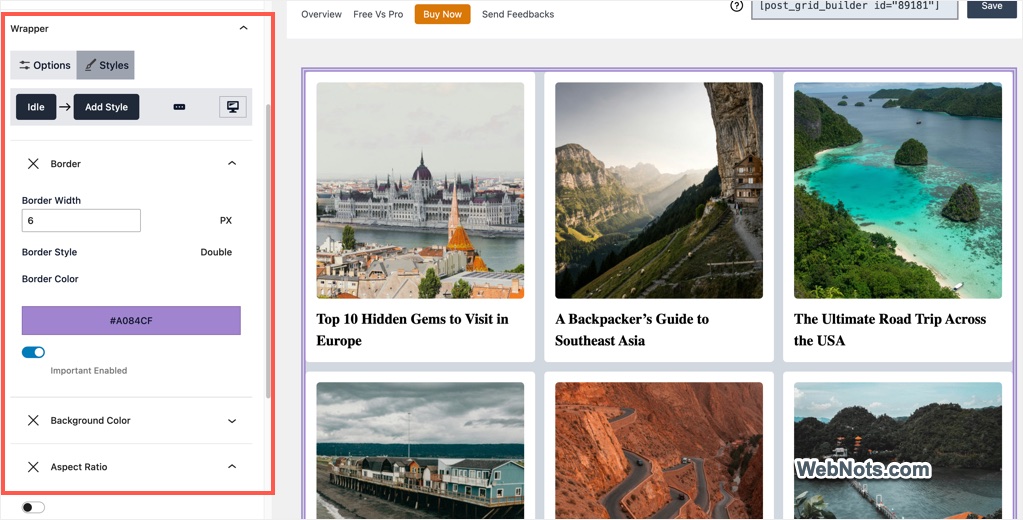
- Apply the border and background colors under “Wrapper” section.
You can simply use one of the predefined layouts or customize each part of the grid as per your need. Save your changes and click on the shortcode to copy that to your clipboard.
Inserting Post Grid on Your Content
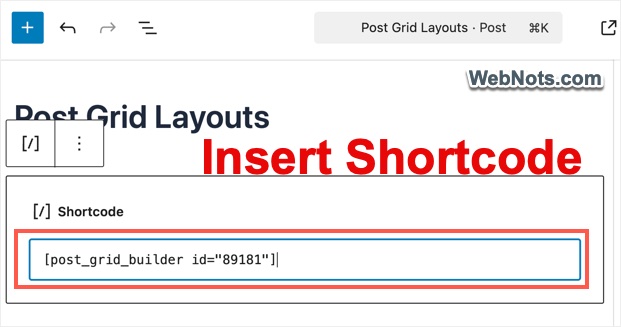
Create or edit a new post / page and simply paste the copied shortcode (this will automatically insert the Shortcode block). Update or publish your post / page and check the live content.
You will see a nice post grid, which is difficult to create with the default Gutenberg editor.
Managing Created Grids
Go to “Post Grid > All Post Grid” menu, where you can find all your templates along with their shortcodes. You can edit, delete or duplicate the items from here.
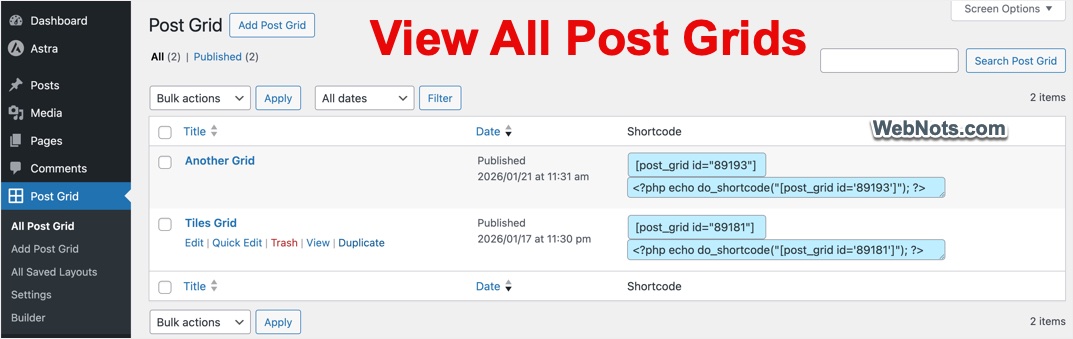
Remember that deleting a grid template will remove all of its occurrences and display the plain shortcode on the frontend. In this case, you should manually remove the shortcodes or check our article to hide them from appearing on the frontend.
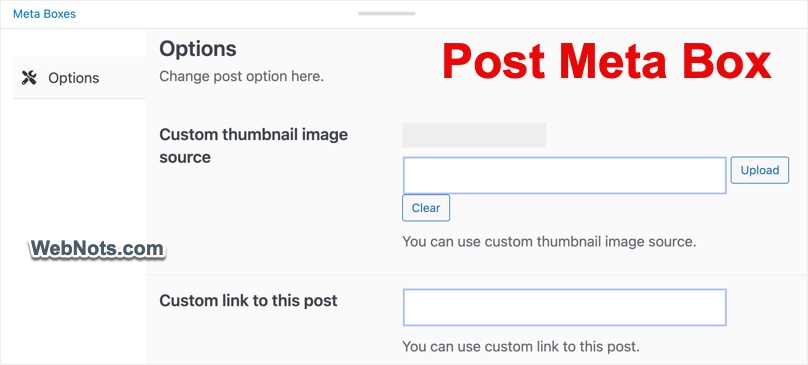
There is also a meta box added by the plugin on individual posts. It allows you to change the thumbnail and link to be used on the grid layout.
Advantages of Post Grid Plugin
Since Gutenberg Query Loop block also offers similar features, you may easily overlook the plugin’s settings.
- Shortcode allows to insert the grid on multiple posts and anytime you can edit the source template grid to change the content on all occurrences without editing each post.
- There are numerous filters to fetch the required posts, for example – based on modified date or randomly. Also, you can make use of the Query Presets (like Latest Posts by Modified Date) without searching for filters.
- You can enable lazy load option and use masonry or tiles grid style.
- Quickly apply preset layout with beautiful appeal (limited templates available with free version).
- Set animation and other parameters for active (idle) and hover statuses.
- Display meta data like category, tag, date, etc. in each grid item.
- Apply background color, aspect ratio, custom CSS classes and customize the pagination style.
All these options are available in free version of the plugin though the pro version allows additional features like premium layouts, filterable / glossary / carousel grids and WooCommerce elements. In most cases, the free version is sufficient to create post grid layouts and insert wherever you want to display on the site.