Apple iPhone and other devices automatically determine the time zone as per your local city and show the clock time accordingly. This is useful when you travel between cities located across time zones. However, sometimes iPhone will not automatically change the time zone or you may want to manually change the clock’s time. Follow the below steps to do that in any iPhone model with the latest iOS version.
Change Clock Time Zone in iPhone
- Open Settings app and go to “General” section.

- Scroll down and tap on “Date & Time” option.

- By default, “Set automatically” option is enabled and turn it off.

- Tap on the city name showing against the “Time Zone” option.

- Type the new city’s name which time zone you want to use and select the city name from the filtered result.
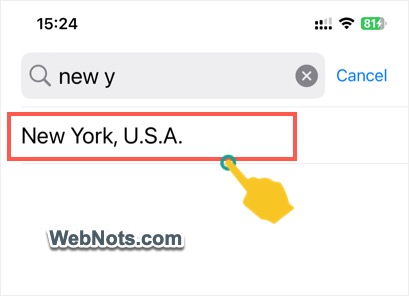
- Your time zone will be instantly changed as per the selected city and iPhone will show the time accordingly.
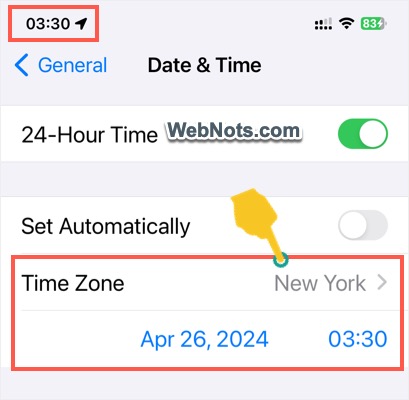
You can change the time zone without internet connection like when you are using airplane mode.
Change Clock Time to Custom Time in iPhone
Sometimes, you may want to slow or speedup your clock’s time for a specific purpose. For example, some people have the habit of keeping time ahead in clock so that they can wakeup and reach the office on time. If you want to use assign custom time to the clock, then follow the below steps. In this case, the same time zone will be used and you have an option to assign different date as well.
- Open Settings app and go to “General” section.
- Go to “Date & Time” section and turn off “Set automatically” option.
- Now, you will see the date and time appears and tap on it.

- Enter a new time in the box and if required you can also select a new date from the calendar.
- Selected time and date will be set instantly and you can start using the new time.

Anytime, you can turn on “Set automatically” option so that iPhone will automatically assign the date/time as per your current city. You can also change the time to show in 24-hour format on the same settings page.